Prufrock's Wargaming Blog

Prufrock's Wargaming Blog
Showing posts with label Table Battles. Show all posts

Saturday, June 25, 2022

2nd Day of Gettysburg, with Table Battles

With some Civil War reading on the go at the moment I had a hankering to play an appropriate game. As most titles of that ilk on my shelf are of the 'need to stay set up for a week or so' variety, I betook myself to Table Battles from Hollandspiele for a bite-sized chunk of action, namely the 2nd day at Gettysburg. Whether that was the right call or not will be elaborated on at the end of the post. 

Table Battles owes a heavy debt to the excellent W1815 by U&P Games, and while the former has the advantage of coming with lots of scenarios, it does not have the lovely map that accompanies the latter. In fact, Table Battles does not come with any maps at all: battles are represented by unit cards placed side by side and sticks as strength markers. 

The lack of geographical setting takes away much of that 'we're playing a battle here' feeling I value in my wargames, so I decided to set out the unit cards and associated strength markers in the rough shape of the battlefield in an attempt to give more of a connection to the historical event.

I'm sure most if not all readers will know the general picture of the dispositions of the Union and Confederate armies on July 2nd 1863, but as a reminder here is a map from wikimediacommons, and the Military History Fandom site.


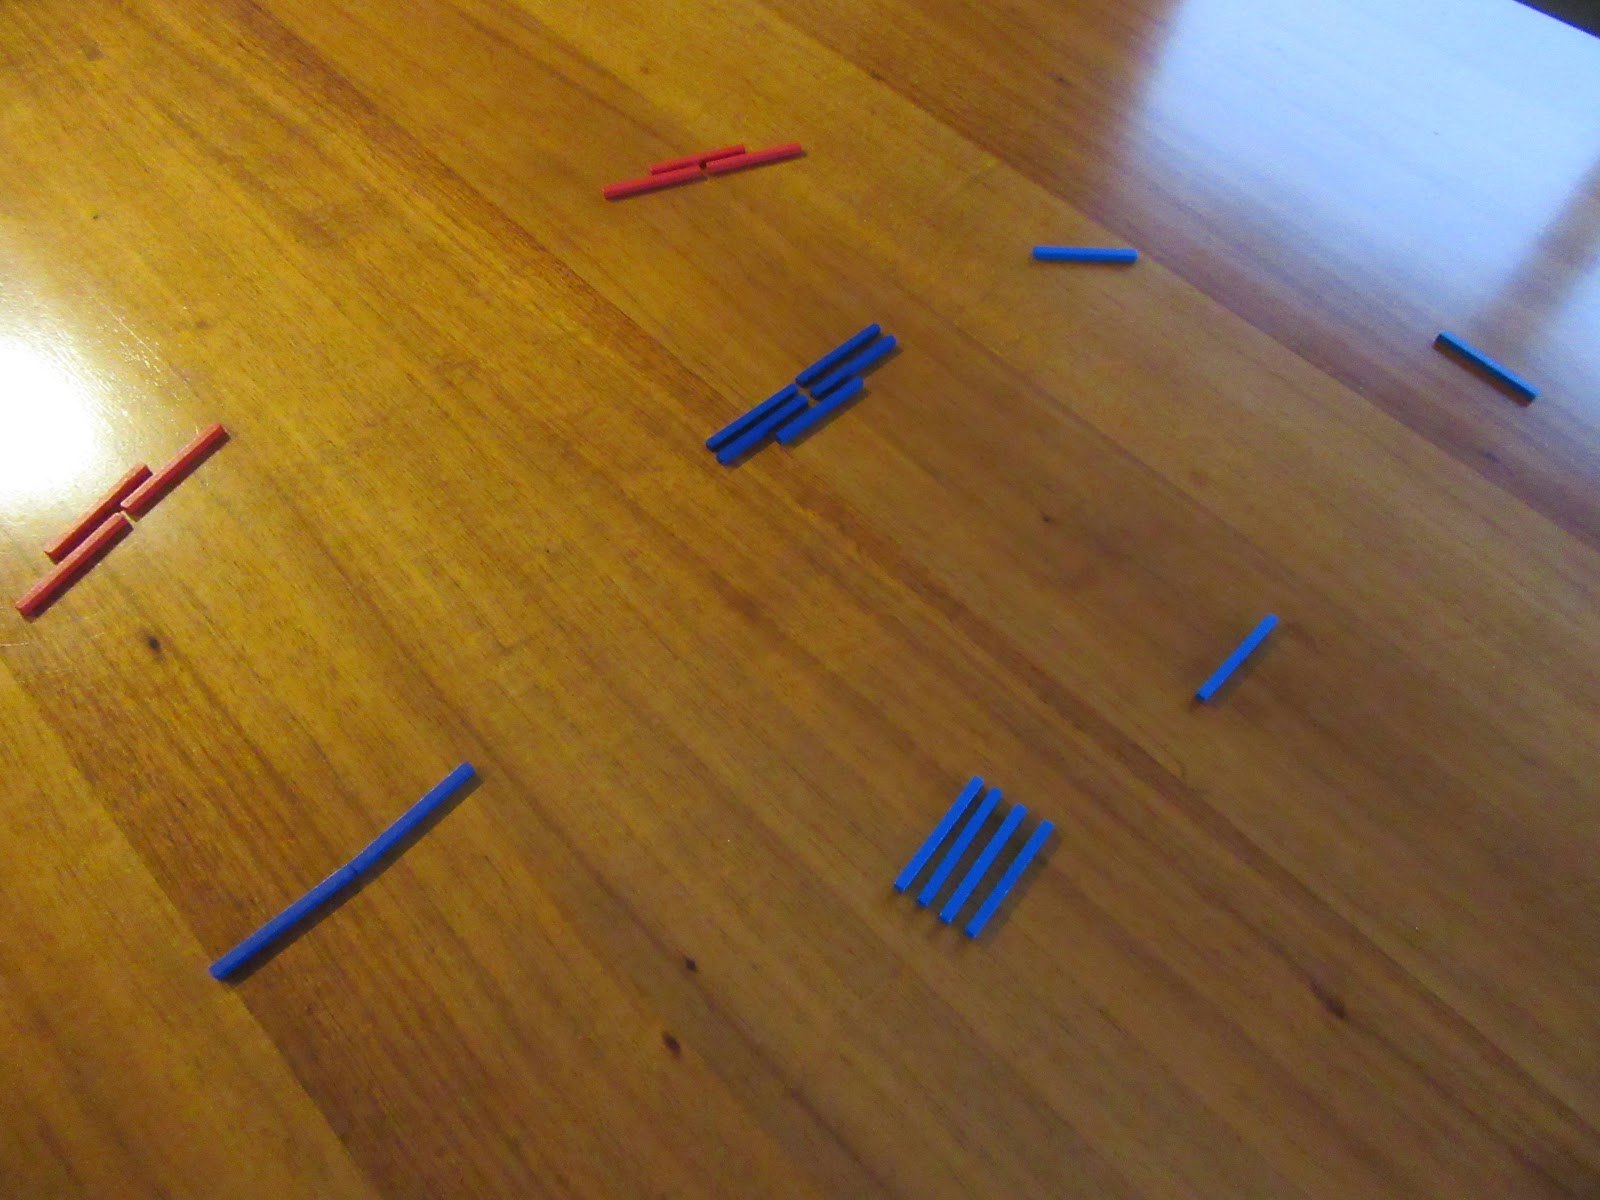
The Table Battles scenario, moving from the Union left around the Union right, has two strength sticks on Little Round Top, opposed by Hood's division with four strength points. Sykes has four strength points to use to replace (absorb, in game palance) any Union losses suffered on Little Round Top. 

Moving back to the main battle line, Sickles, with six strength points, is faced by McLaws, with five. Hancock, at strength eight, is the heart of the Union line, and he is matched against Anderson at strength five. Howard with six strength holds against Early with five, and at the extreme end of the line Slocum, at a strength of just two, faces Johnson with four. 

Meade is present as well, with the ability to allow Union units from the main line (i.e., excluding Little Round Top) to absorb losses for any other unit on the main line. Two damage scored on Howard, for example, could be transferred to Hancock, who may be better able to take the losses at that particular juncture. 

This is what my set up looks like (forgive the poor approximation of the battle map!):
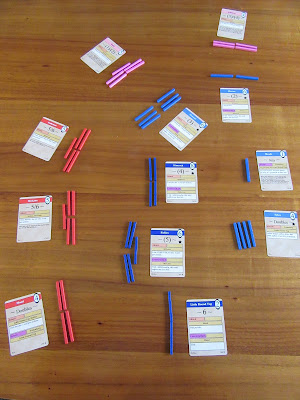
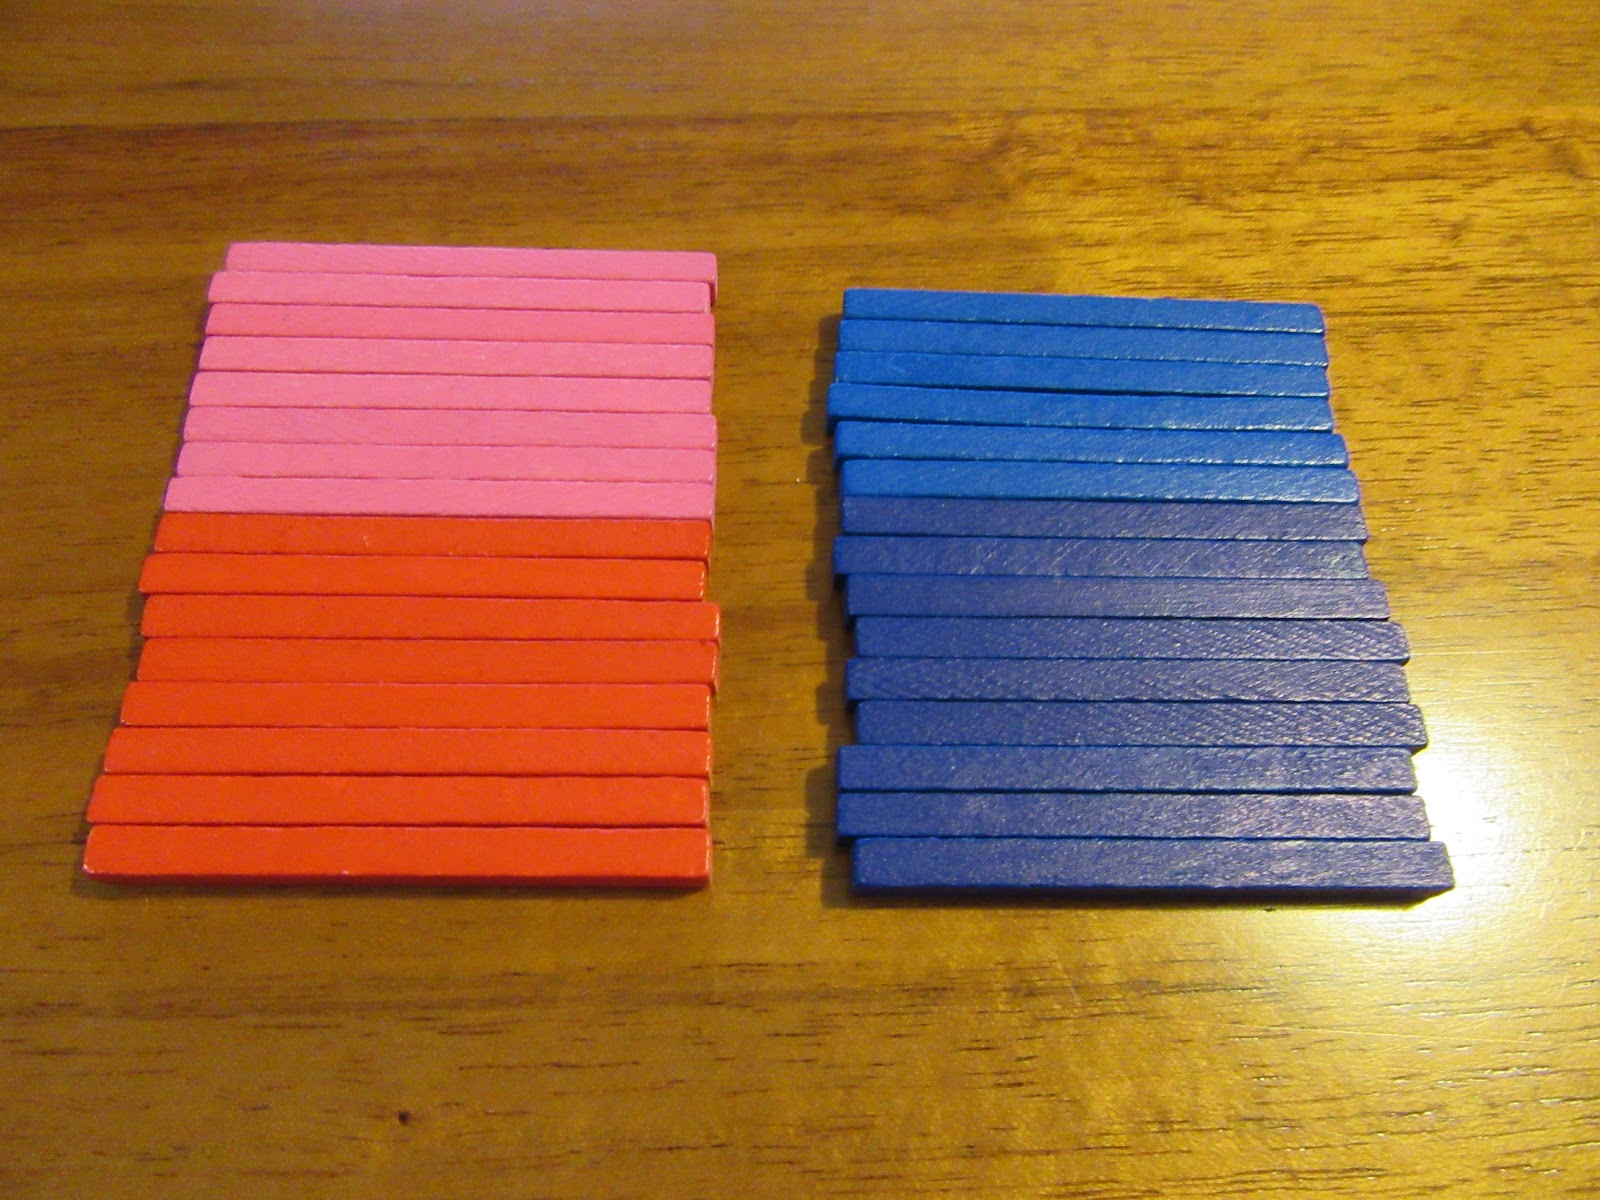
Confederate wings are red and pink; Union ones light and dark blue.

In Table Battles each side has a pool of six dice, which are rolled and assigned to unit cards to allow those cards to activate on a subsequent turn. Limitations are that dice can only be placed on one card of any particular colour per turn, and in the case of the Confederates units must wait for dice to be loaded onto first Hood then McLaws before they can be added anywhere else.

The Confederates have their best attacking opportunities with Anderson, then McLaws, then Hood. Every attack will also reduce their own strength, but the more dice per card the more damage can be inflicted on the Union troops. The Union, for their part, have the ability to counter-attack, which will increase the damage on any Confederate assault, and reduce the damage they take themselves. The trick for the Union is to load dice on the correct cards at the correct time to use the counter-attack ability, and use Meade's absorb feature to spread losses across the line so that no one unit becomes vulnerable to defeat. Union attacks, particularly against Johnson and McLaws, can help to break up the Confederate charge. 

Without further jawing, let us move to the battle itself. 

After dice build up on both sides, the action commences with McLaws attacking Sickles. McLaws does two damage and takes one himself, reducing strength to four and four.


Howard then attacks Early, for one hit to himself, two to the enemy, leaving five and three blocks respectively. Unfortunately, I can see that I made a mistake here and did the hits the wrong way round - one off the Confederates and two off the Union! 
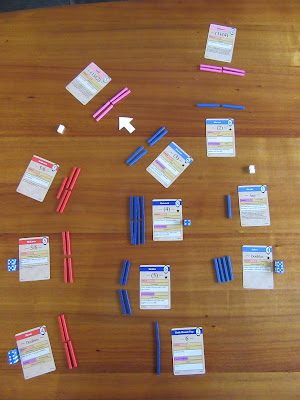


Another attack from McLaws sees Sickles in strife and down to one block. The counter-attack ability has however taken two blocks off McLaws. Any further attacks by McLaws on Sickles can be transferred to another unit by using Meade's absorb ability.
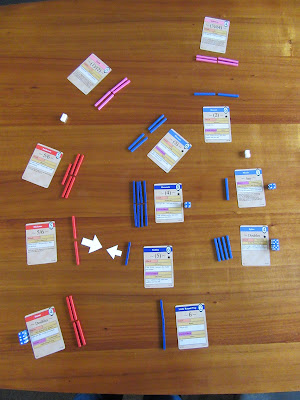

Already it is clear that the Confederates have few good attacking options: they can wear the Union down, but to do this causes so much damage to themselves that breaking the line will become almost impossible. Nevertheless, they persevere.

Anderson now attacks Hancock, but the counter-attack means both sides lose two strength.


 Johnson batters himself against Slocum.


Early attacks Howard, but Hancock takes the damage.
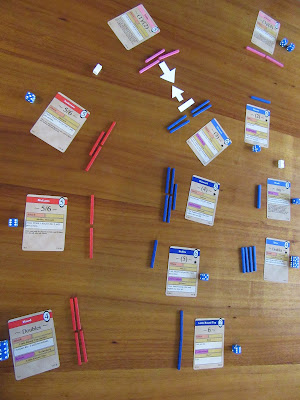

These no-advantage attacks by the Confederate are required to force the Union into counter-attacks. If the Union gets a free turn (i.e., they are not forced to counter-attack), they will be able to attack McLaws with Sickles, exhaust both units, and prevent any further dice being added to Anderson by virtue of the special rule that dice can only be placed on Anderson if there are dice on McLaws. For this reason the Confederates must keep attacking and hope against hope to get good enough rolls on their allocation phase to load up on Anderson and deliver a killer blow. The Union however need only sit tight, absorb losses, and wait for the opportunity to hit McLaws.

Johnson self-immolates for the cause.
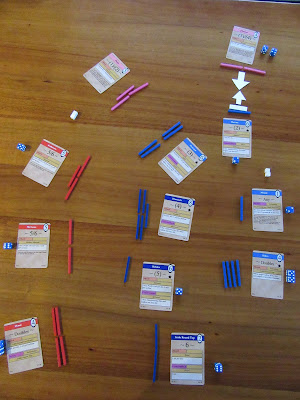


Then Early attacks.
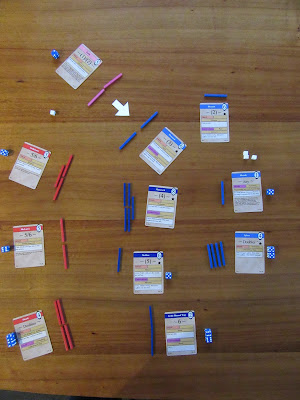

No counter-attack is forced, and the Union is now free to use Sickles to attack McLaws.


And that is effectively the battle decided. It is now over the Union to clean up as they will. The troops on Little Round Top attack Hood twice in succession.
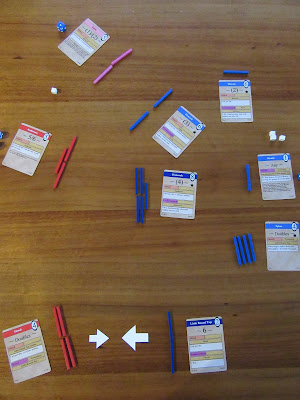
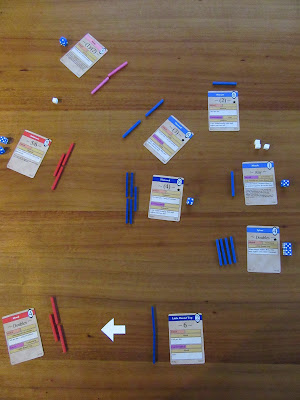


The Confederates are no longer able to place dice anywhere but on Hood, and it is just a matter of time before the Union administers the coup-de-grace.

It comes against Early and the Union has held the high ground. 
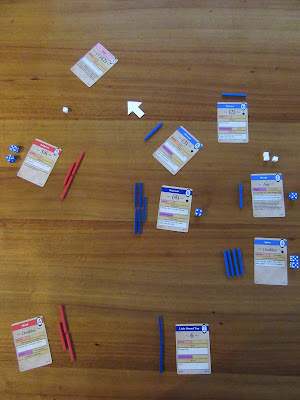


The casualties favour the Union by one. The Confederates have expended themselves to no good end. 


And so the battle is over. 

As I am increasingly finding with Table Battles, the effort expended to play the game (much less write a report) is out of all proportion to the reward. The game only approximates the battle it purports to represent, and is more like a hand of cards than a wargame. 

The central difficulty with Table Battles is that, unlike with W1815, the dice rolls come before the decision. In W1815 you make your decision and take your chance; in Table Battles you take your chance and make your decision. Once dice are allocated to a unit they cannot be removed until an action or reaction is taken, so there is no flexibility in changing the point of attack. When an opposition card has a counter-attack die on it, you can see the situation is hopeless ahead of time but must do an attack anyway to free up dice to roll for more activations on the off chance that you might roll, say, two fives to put on a powerful unit, and then hope that the enemy will roll something less useful. 

Some scenarios such as this one are heavily skewed towards one side or another, and there is no way to assess one result against another over a series of games to find a winner. It is zero-sum win or lose. You cannot, as you can in, say, Commands and Colors, keep track of victory points scored by each side and compare after a game apiece to find a winner. You could assess casualties, but casualties themselves are not the focus of play - the focus of play is scoring casualties in the right place, so that you can break the enemy formations needed to get victory squares - so to look at inflicting casualties in total is to deviate from the path to victory. 

Playing Gettysburg with Table Battles was one way to get a Civil War game in, but it is not one that I can take any satisfaction from. The more I play this game the less I like it. I liked it more when I was playing the rules incorrectly.

Anyway, I will stop my rant there, but suffice to say I'm annoyed with myself for having bought four expansions!

Sunday, August 22, 2021

Three Battles of Bosworth

Last Sunday was the Society of Ancients' battle day, and the battle they were doing was Bosworth. Although a week late, I thought it would do my own version of it on the kitchen table. The rules would be simple - I would use Table Battles by Tom Russell of Hollandspiele - and these rules, unlike the Society's, would use cards, dice, sticks and cubes.


Richard would start, having six dice to roll and assign. But first, a little explanation of the game.


As can be seen in the image above, Richard has three formations to consider. Norfolk and his own can fight right from the beginning, given the right dice. Rolls of 5 or 6 can be apportioned to Norfolk; rolls of 4 or 5 to Richard. Northumberland cannot be used at this point because he is in reserve. To bring him into the fight, Richard needs to accumulate a full house - three 4s and two 5s (or vice versa), which is quite a tall order when there are only six dice to use. 

For each attack that Norfolk or Richard make they will lose one of their formation sticks, and will remove as many formation sticks from the enemy as they use dice, so it is to their advantage to use as many as possible in each attack. Norfolk can also use a pair of 5s or 6s to screen enemy attacks (i.e., the attack fails with no loss to either side).


Henry's cards are similar. He has Oxford and himself in the front line, and the Stanleys in reserve. 3s and 4s activate Richmond; 5s and 6s Oxford. As with Northumberland, a full house of 3s and 4s will bring the Stanleys into the battle.

Oxford has eight formation sticks and Richmond two. Oxford will also lose one formation stick for each attack he makes and inflict as many hits as he uses dice. Richmond himself does not lose formation sticks when he attacks, but to launch an attack of his own he must have a pair of dice, and will only remove one formation stick from the enemy. To complete the puzzle, Oxford has a counterattack ability that allows him to use a pair of dice to remove an extra formation stick from any enemy that attacks him. 

Both sides start by stacking dice on a single formation card, as shown in the picture below.


Richard attacks first, removing three sticks from Oxford and losing two himself. He then concentrates on building up dice on his own formation again. Oxford also attacks with three dice, hitting Norfolk badly, and reducing him to one stick.


As shown above, both sides have three dice in play again, but this time it is Oxford to move. He attacks Norfolk, who is destroyed. Henry takes a morale cube off Richard. One more is needed for the victory.

The only way Richard can win now is to get four dice on his card to take out Oxford with one attack, and then turn his attention to Henry. Over several turns he saves up his dice, but can only manage three 4s. 

Oxford, with a pair, is able to play and remove Richard entirely at a cost of one formation loss to himself.


Northumberland has not entered the battle and Henry is the victor. Bosworth I to the kingslayer!


Bosworth II starts with a powerful attack by Norfolk doing three damage to Oxford for one to himself. Henry rolls poorly and is unable to populate his cards with dice. Richard has no such trouble.


With Richard to play in the sitaution above, he inflicts three more hits on Oxford. Henry is still struggling to get the dice in play.


Richard seizes the moment and attacks Oxford again. Both formations are removed at the same time, so no morale cubes are exchanged. It is now a contest between Norfolk and Richmond to collect dice for an attack.

Norfolk is first.


His two dice are enough to destroy Henry at a cost of just one formation hit to himself. Bosworth II goes to Richard. 


We go to a Bosworth III to find the winner. The third battle commences with another 3/1 attack by Norfolk


A 3/2 attack from Richard follows from the position below.


Once again Oxford is in a precarious state. Richmond stacks dice hoping to obtain the full house needed to bring the Stanleys into the line; Richard just stacks dice. Battle continues for a few turns with Norfolk successfully screening some attacks while the house of York gathers its strength.

A pair on Norfolk will be enough: Richard only needs to capture one morale cube to claim the win.


And the deed is done! Richard wins two battles to Henry's one. 


And so my battle day is over. Not quite as satisfying as a two hour game with figures, but a fun way to get into the spirit of the event, play the battle, and have hardly any clean up required.

It was an unexpected piece of serendipity to find that today was actually the anniversary of the battle. All in all, I think it worked out rather nicely!


Tuesday, March 2, 2021

Pharsalus with Table Battles

Plans to play Triumph have not yet come to fruition, but in an effort to get a game or two in I decided to try the card, dice and sticks game Table Battles by Tom Russell, using figures in place of sticks to give a better sense of the battle.

Pharsalus seemed the obvious choice: I have the figures ready to hand and it is a battle I know well and always enjoy.

Game 1:

Pompey (pink and red cards) comes out of the blocks hard. Caesar (blue and light blue cards) is not able to get his fourth line into action and Pompey bursts through Antony to claim the victory.


Game 2: 

Pompey takes the initiative and never gives it up. Antony and the Cilicians mutually self destruct before Metellus Scipio wins in the centre. 


Game 3:

Some Story. Scipio breaks through in the centre. Battle over. By now I was starting to wonder if Caesar would ever win this. 


Game 4:

Pompey gets a little cocky: Labienus over-commits on attack and cleans up Caesar's cavalry, bringing the fourth line into play. Big mistake. It's close - Antony is almost knocked over again by the Cilicians - but it's a first win for Caesar.


Game 5:

A vicious fight. The fourth line is involved again but it's the infantry cleaning out the entire Pompeian line that wins it for Caesar. 


Game 6:

Pompey is back to winning ways. Caesar brings up the fourth line a touch too soon, which gives Pompey the opportunity to cease initiative, maintain pressure and defeat Caesar's command. 


Game 7:

In the least satisfying game so far Caesar wins again, this time because Pompey has no enemy left that he can legally attack. The troops left on the board (remember, Pompey is the red and pink cards) show what a travesty this result is!


So there we are. Seven games of Pharsalus, four to Pompey and three to Caesar. It's certainly possible to win with both sides once you get the flow of the battle, but if Pompey just concentrates on attacking with his infantry and screening (rather than attacking) with his cavalry (and gets the dice to allow this strategy), he stands a pretty good show of winning. Each Caesarian infantry command is worth two victory points, and running over one will win Pompey the game if Caesar hasn't been able to claim a point himself already.

Not all Table Battle scenarios are equal, and I got put off the game a bit after engaging with a disappointing Granicus scenario from the Alexander expansion which plays nothing like the historical battle and (as far as I can see) is almost unlosable for the Persians if they follow a particular strategy. The figures here though helped with the visuals and atmosphere and the scenario was interesting enough to make me want to keep playing. In so doing I found myself coming round to liking the game again.

All games were played solo, each taking about five to ten minutes from start to finish. It turned out to be an enjoyable way to spend a lazy rainy Saturday afternoon.

Tuesday, July 21, 2020

Quick Review: Table Battles, by Hollandspiele

Hollandspiele has gained a reputation for innovative, fast-playing board wargames with more to them than meets the eye, and Table Battles is so far proving to be the epitome of that approach.

Using just a dozen or so cards per army, coloured sticks, and six dice per side, the game allows you to recreate dozens of historical battles on your table, each playing out in somewhere between ten and thirty minutes of real time.

The rules are very succinct - just four pages - but they are flexible enough for all kinds of situations and eras to be gamed.

Take Pharsalus, for instance. Pompey begins the battle with four cards on the table representing the commands in his army, being, from left to right, Labienus, Pompey, Sulla and the Cilicians. He rolls his six dice, and can allocate these dice to his commands according to the rolls, the card limitations, and his design. Allocated dice allow him to activate his commands to attack or react to enemy attacks.

His command has two wings - Labienus and everyone else - and he can give dice to one card per wing per turn.


The oval number tell us how many blocks (hits) a division has. Labienus can be activated by doubles, Pompey by fives or sixes - but only one or the other, and only one die per turn (brackets limit number of dice placed per turn to one), Metellus Scipio by threes or fours, and the Cilicians by ones or twos. The orange headed boxes indicate which enemy the division can attack, and the damage it does. The pink headed boxes indicate reactions, which are performed when the enemy attacks.


After the dice are rolled the best choices are to load Labienus and the Cilicians so that Pompey has two good options to activate next turn.

It is now Caesar's turn to roll and allocate dice (note that the turn is just two parts: act [or react], roll and allocate dice; then the other side does the same), with his various possible actions all laid out on the cards as Pompey's were.


An an additional subtlety, Caesar has his Fourth Line in reserve, meaning they can only be activated once Caesar's horse have retired. A close look at the cards shows that the horse cannot attack, with the best they can do being to react to an attack on themselves by forming a screen (screens have the effect of negating an attack and preventing hits on either side).


In this case, Caesar elects to use the horse to screen any potential attack by Labienus and to add one die to Anthony so that he can hopefully deter an attack by the Cilicians.

The game now begins properly, with Pompey activating the Cilicians to attack, doing three hits, taking one themselves, and then another when Antony reacts with his command. Dice are rolled again and allocated, and because Caesar had to respond to Pompey's attack, Pompey is able to retain the initiative and choose where he will activate next.

And that is pretty much way things run.

The game is won when a) one side has no morale cubes left,* or b) the active side has no target remaining that they could, given the right dice, legitimately attack.

* when a division loses its last block that side must surrender a morale cube - or two if it is a 'star' division - but if both divisions - attacking and defending - lose their last block at the same time, no cube is surrendered

Game play is mandated by the rule that if a side can attack, it must [correction - I am wrong here; attacking is a may action] - though it can choose which attack to employ if there are more than one option - and if a side can react, it must [this part is correct!] - though again it can choose among multiple options.

When a side reacts, this counts as its own action, and play returns to the other side. Initiative therefore is very important. If you make a play which does not require a reaction, then the other side now takes the initiative and can choose where to attack, including planning where or how to force reactions themselves. This creates intense dynamic interplay over a number of turns as players try to set the conditions for a devastating attack or else attempt to wrest the initiative from the enemy so that they can dictate play for a period.

In our test game, Pompey's Cilicians and Antony's division cancelled each other out, losing their final blocks at the same time...

Neither side loses a morale block because the removal of the cards was simultaneous.


But Pompey was able to largely keep the initiative and defeat Domitius' division which, having a star on it, was worth two morale cubes, thereby giving Pompey the victory.


The game is short, but the interplay is dynamic and there is a nice range of options in how to approach each battle. The games I've been playing are all solo, but I can see how much fun it would be to settle down with a friend and play out a series of battles over an afternoon or evening.

Verdict: a really fun game. It all fits together so nicely you sort of feel like you could have come up with it yourself. But of course, you didn't - Tom Russell did, and he deserves a bit pat on the back for having done so. As an added bonus, it is available cheaply in a print-and-play version on Wargame Vault if things are a bit too tight to be paying for shipping, and with (at current count) four expansions available, there is a lot of play to be had.


Related Posts Plugin for WordPress, Blogger...