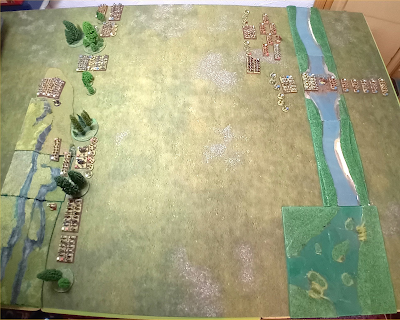
SP came over the weekend before last and it seemed like a good opportunity to test out the new 10.5cm hex mat.
I wanted a little terrain but not too much, and the Heraclea scenario from Expansion 2 fit the bill.
 |
| From behind the Roman right at set up. |
The armies are fairly evenly matched. Both sides have two leaders, one in the centre and another on the right, meaning that the lefts of both armies are, if not weak, at least vulnerable. Pyrrhus has powerful infantry, two units of elephants, a potent cavalry-plus-leader combination to strike from a distance, and light bow infantry.
Laevinus has powerful infantry caught slightly out of position, cavalry with no leader support, and standard light infantry.
Both armies have a hand of five cards.
 |
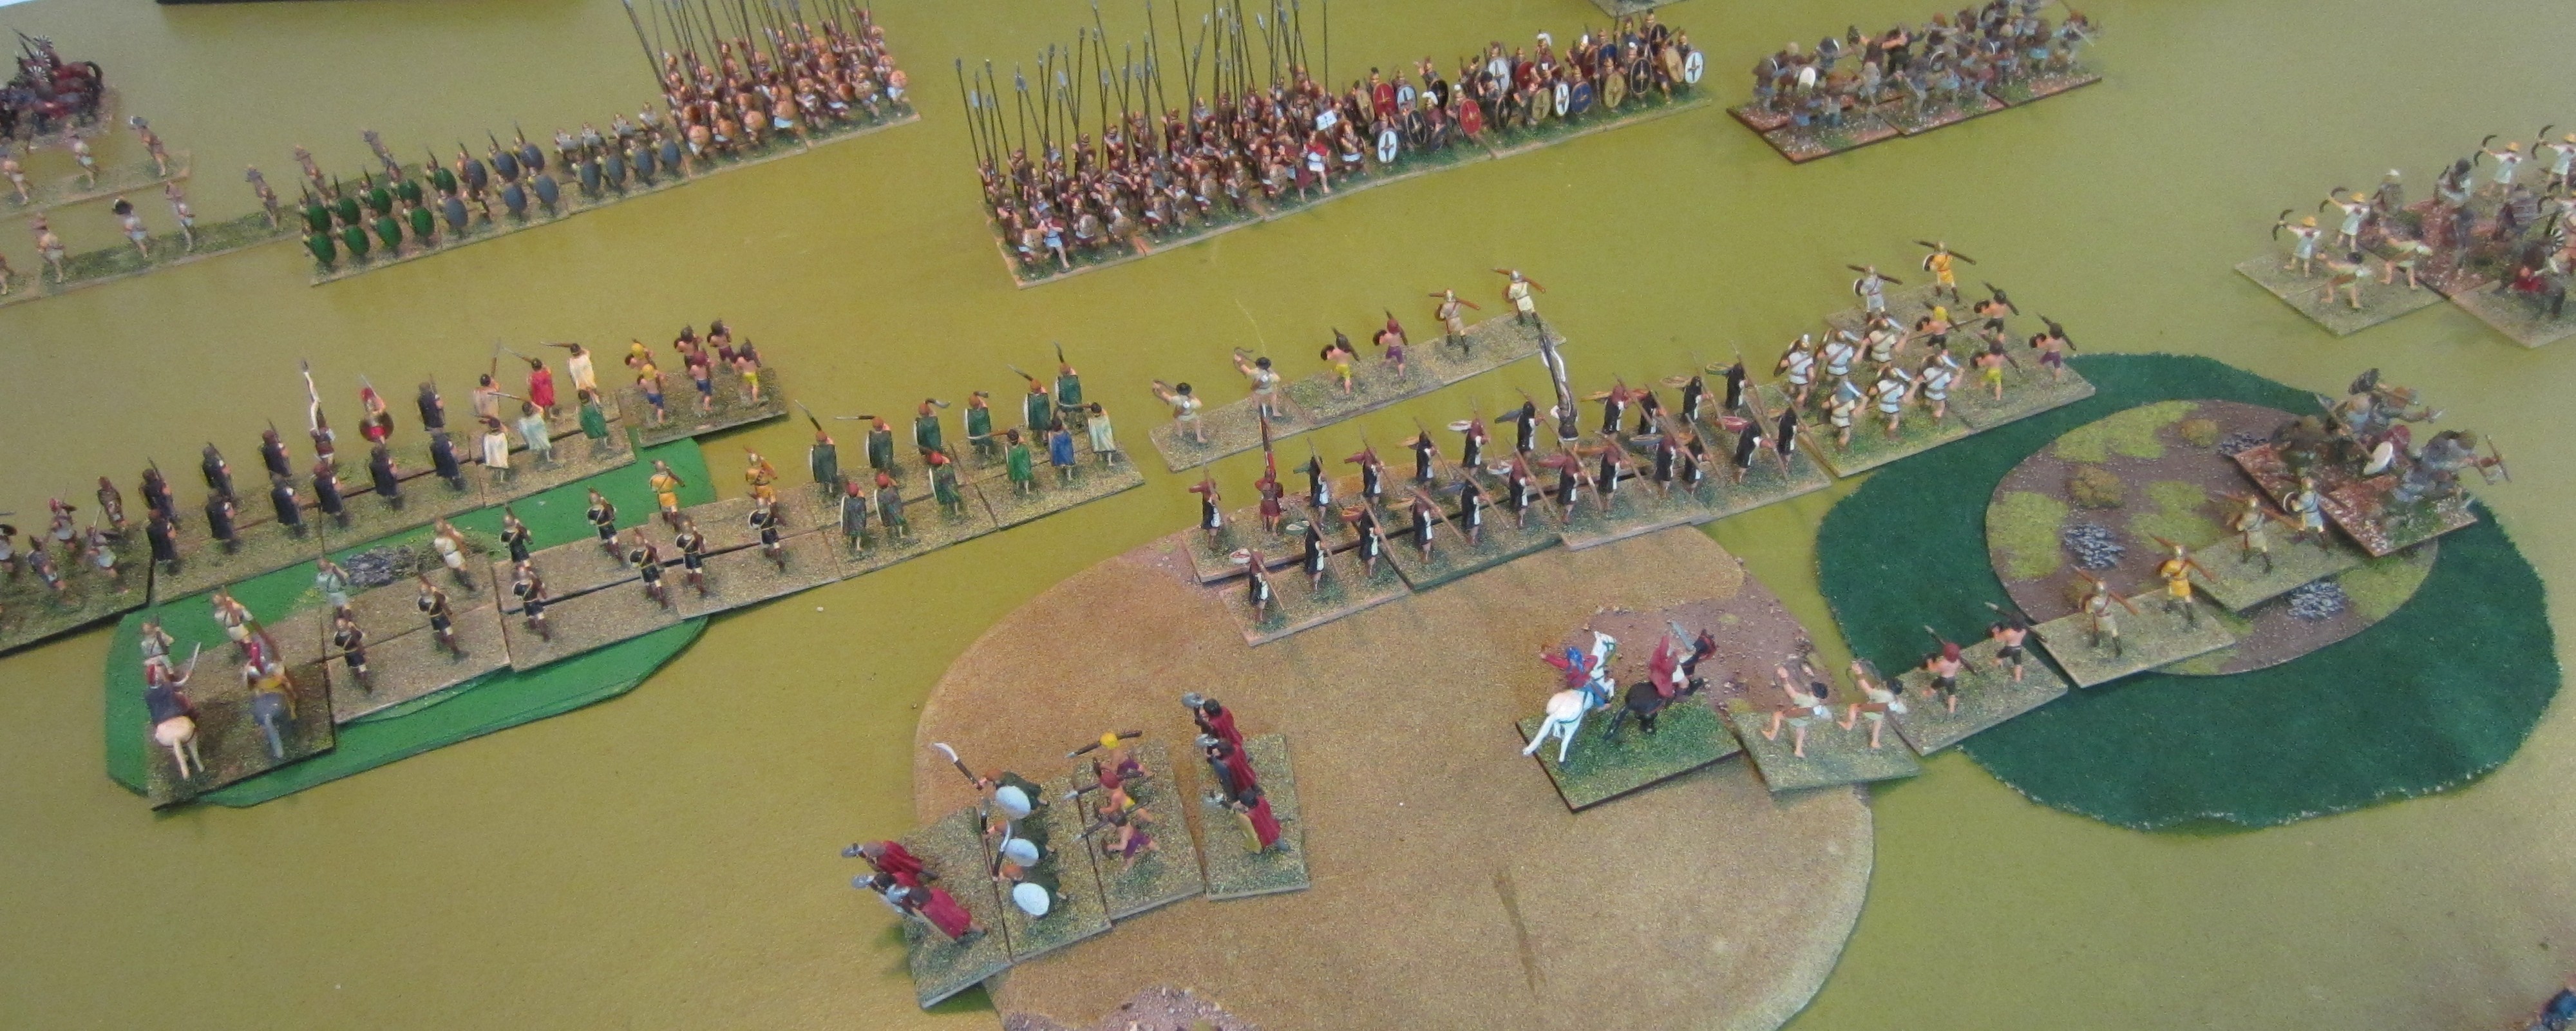
| View from behind the Epirote left. |
The battle commenced with the usual jockeying for position and sniping from the missile troops. Playing Pyrrhus, I moved him into the centre left to be more influential. SP moved Laevinus up with his right, but behind the missile troops instead of with the main infantry line.
What was this threat? I tried to change the focus to the centre.
 |
| The lines develop: Romans on the left, Epirotes on the right. Laevinus is visable behind the velites. |
 |
| A wider angle at the same stage of the fight. |
Somewhat afeared of the prospect of Laevinus storming forward against my left, I tried to get the centre forward and into contact as quickly as possible.
 |
| Centres engage. |
The central fight was fairly even in terms of units lost, but Pyrrhus had an advantage in positioning, with his forces better concentrated, and with more vulnerable units in range of his forces than Laevinus has in range of his.
 |
| Both centres battered after the initial clash there: three banners apiece. |
Centre cards began to run out, so it was time to engage on the right and try to push the Roman cavalry and infantry back into impossible positions.
 |
| Advance on the right to force the Romans back against the river. |
Pyrrhus begins to build a lead as he chews up the Roman left with the help of some good cards and useful dice, 4-3 up, 5-3 up: two more banners to win.
With things at crisis point, SP decides to attack. An I am Spartacus card rejuvenates his chances. 5-4. Another Pyrrhic turn sees the scores 6-4, with one banner to win. A leadership any section card sees SP try his luck in the centre: another Roman attack destroys one unit, kills Pyrrhus, and is one hit short of destroying another unit after the momentum advance and follow-up attack. The battle back roll kills the Roman: 7-6 to Epirus!
A fitting way the christen the mat, and a great fightback from SP.