Prufrock's Wargaming Blog

Prufrock's Wargaming Blog

Monday, April 25, 2016

An Uncivil War

I set up the card-driven ECW game Unhappy King Charles the other night for a play through to refresh my memory of the rules and try out the new coloured chits I'd got for the particular purpose of using with it.

UKC is an interesting game: the focus is more on building areas of influence than on battles - these being costly and risky - so progress is incremental rather than dramatic. It's not ideal for solo play unless you're a real ECW buff (which I'm not - my interest is casual) but I was enjoying it nonetheless.

In the early war the biggest drama was in the South and the Midlands. Waller dumped the Royalists out of Cornwall while Rupert a bit further north took Nottingham by siege.

There was more to-ing and fro-ing, with Essex besieging Reading which brought Rupert haring down to sort things out. Rupert's efforts were spectacular, and by early 1843 (ahem, 1643 - Editor Ray) Essex and Manchester had been ousted, had had their armies dispersed, and had left Rupert in position to beseige London, with no one around able to do very much about it.

King Charles is in rather happier state at this point than the game title would allow...


Slightly agog at the pace of this action, a light suddenly went on in the dimness. A quick check of the rules showed that I'd stuffed up: Rupert was not allowed to command an army of quite this size just yet. Ouch.

Yes Rupert, it is too good to be true!

I may have got the hang of something, but it certainly wasn't the rules! Too far gone for a re-do, I've called it game over. Next time I'll have to abide by the rules more civilly...

Oh well :)


Sunday, April 3, 2016

Pharsalus Battle Day

We had our version of the Society of Ancients' battle day here in Japan today. The object of this year's study was of Pharsalus, and we used bespoke rules to try to explore the battle and some of the possible outcomes.

With six players and myself as umpire, it was an excellent turnout, and everyone got into the spirit of the event. The rules were simple: play a card (move, charge, hold, skirmish, fall back, etc) and act. Combat was by dice roll, with units needing different scores to hit against different opponents. Players had Tribune pieces which they could play to save hits or to add dice to an attack, and there was an appeal to fate option by which players could ask for a re-roll by screaming their side's watchword, with the re-roll option then passing to the other team and remaining with them until someone on their team had used it.

Each player had his own secret victory conditions, and was able to score 'dignitas' by hitting the enemy, surviving past a certain period, using his tribune effectively, and so on. The intention was to keep players interested and to give them an incentive to command their section in a historical fashion.

For me, the game was a great success, and it was wonderful to see people getting caught up in the moment and to watch the battle re-enacted in the way it was.

I'm not going to say too much as I intend to put the bulk of my reflections into an article for Slingshot, but here are a few shots of the deployment and some of the action.


Many thanks to all who participated in making this a great day.

Monday, March 28, 2016

So how did Caesar win that again??

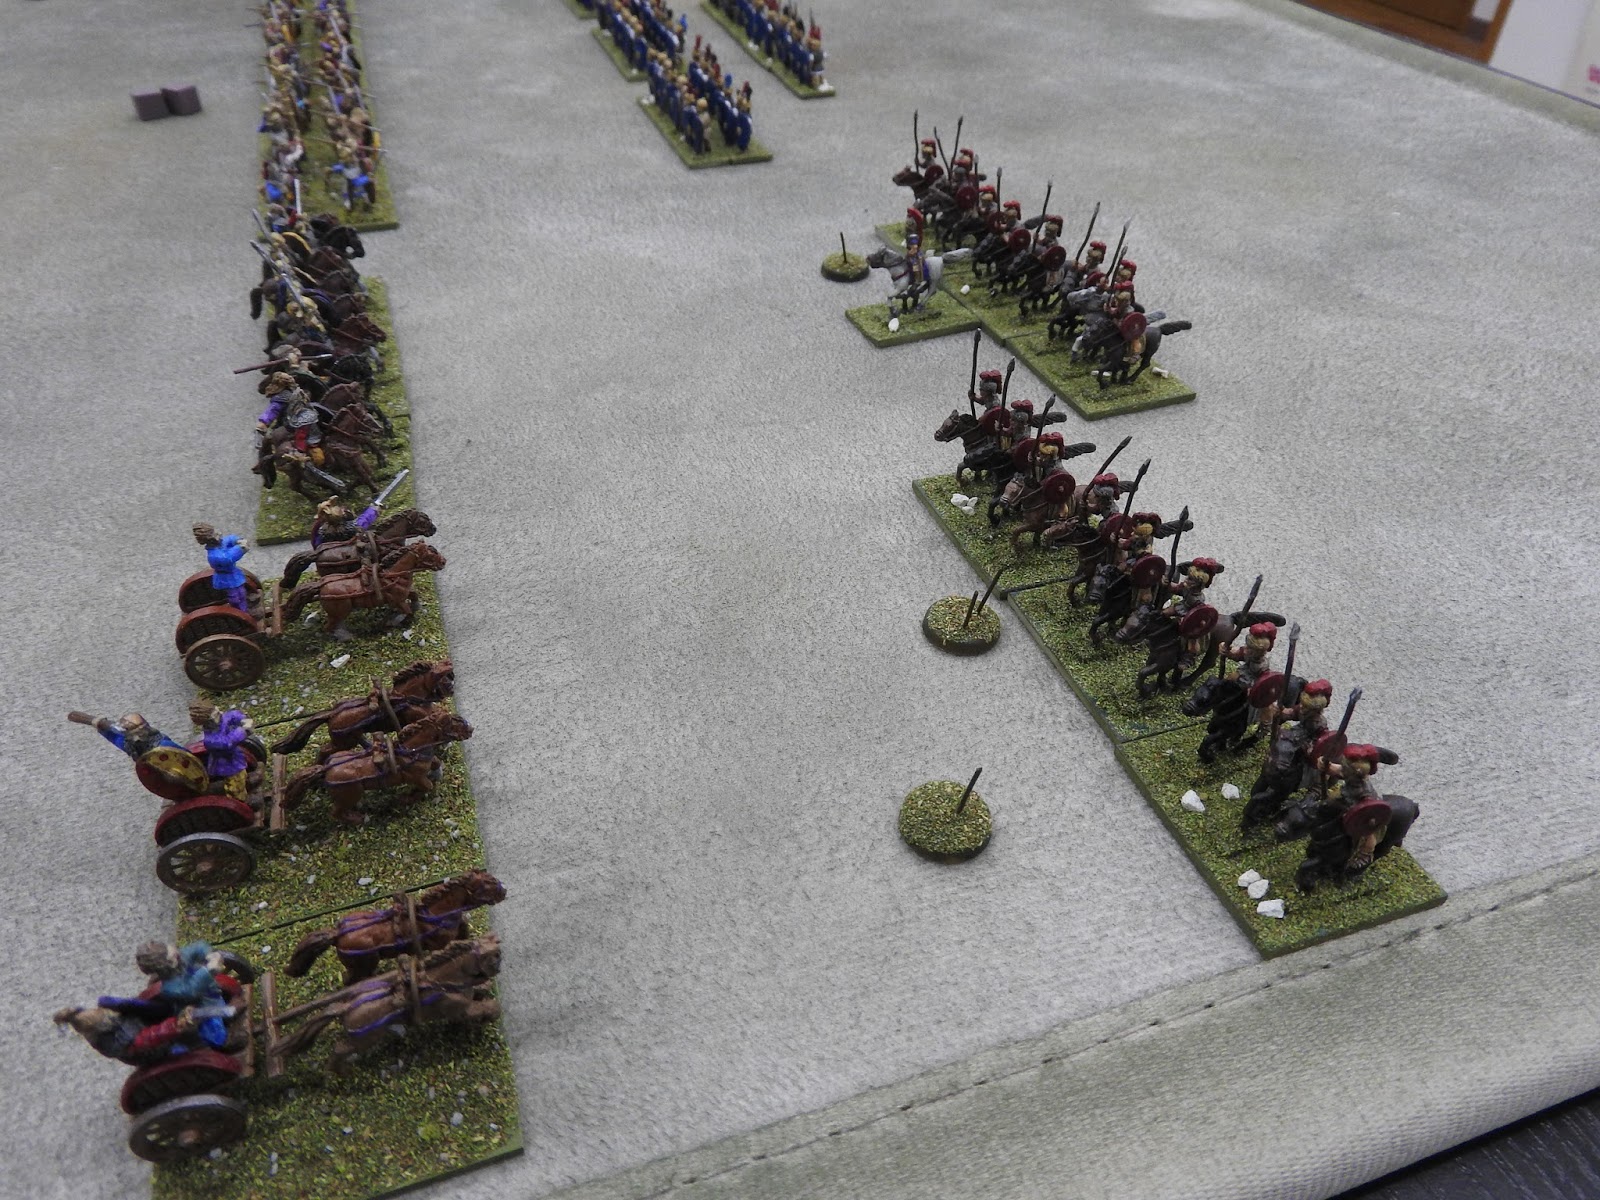
A few shots of preparation for our Pharsalus Battle Day game on Sunday. At this stage I'm just lining up the troops and seeing how things look, but even with this it's hard to see how Pompey's 7000 cavalry and 2000 or so light infantry got so badly beaten up by 1000 cav and 2000-3000 legionaries!


Friday, March 25, 2016

Ten Years Gone: on Painting Averagely, Well

Probably the biggest challenge there is in turning yourself from a curious observer into a figure-buying, rules-ingesting, game-playing wargamaniac is learning how to paint.

For a first timer, picking up a brush can be intimidating. A quick google search or a visit to popular blogs shows that there are a lot of marvellous painters around, and if your figures are going to share a table or computer screen with those of others you don't want them to stick out for the wrong reasons.

When I started it was immediately apparent that I had - how shall I say it - 'limitations', and that these would necessitate my settling for an average standard of painting. This is the age of following your dreams, but it was pretty clear that there would be no Golden Demons (or Golden Poodles, for that matter) for me. I decided that my Prufockian point of difference would not be a beautiful paint job: it would be an average paint job done adequately, with massed troops to compensate for the lack of artistry.

In sum, I wanted my figures to look okay in the hand, fine on the table, and passable on camera.

The lead elephant in the room of course was how to get to that point.

Ten years later I'm still not there, but I'd like to think that some progress has been made. It has taken a lot of effort - and more false starts than I care to remember - so if I could go back to my younger and somewhat svelter self and offer a few time and hair-saving pointers, this is what I would say.

1) Choose good quality figures. Now that you are a wargamer, you will turn into a penny pincher. While there is an undoubted  attraction in keeping costs down, make sure you get good figures that happen to be cheap, not poor figures fairly priced. The effort it takes to get a low quality figure to look passable is out of all proportion to the money you might save on lead. Clean sculpting, good proportions, realistic poses and accurate equipment make the process a lot easier.

Oh, and don't be seduced by the charm of 'Old School' figures. There's not much charm in trying to turn 48 formless blobs into faces at 11:30 at night, I can tell you that right now!

2) Learn how to paint between the lines. Don't laugh. There's more to it than you think. You want your hands to be steady, but you can cope even if they're not. Yours will be a trifle shaky, but cutting out coffee while painting makes a big improvement. Bracing elbows or forearms on the table and holding your breath while doing delicate work will help too.* Another thing to save you some repainting: use the side of your brush tip in a sweeping motion. Don't go dragging paint everywhere using the tip.

Paint strategically so that the steps you do later in the sequence cover up your earlier mistakes. This will reduce the number of really steady strokes you need to make, and it'll mean you can paint more quickly early on in the process (and with a few beers if you choose).

* edit: as John says in the comments below, holding your breath is not so good - controlling your breathing is the aim.

3) Find optimal paint consistency. I'll warn you now, ten years down the track you'll talk about hobby stuff like an utter tool, but paint consistency is important, and finding it is something that comes with experience. The difference between an acceptable paint job and a poor one can be as simple as the consistency of the paint. If you have paint that is thicker and lumpier than you need it is hard to get your brush strokes accurate. Thick paint layers are noticeable on a figure and even if you can get your colours nicely demarcated paint lumpiness will detract from the overall effect (Cough. Parthians. Cough).

Paint that is too thin is no good either. It will run into adjacent areas, and highlights done with watery paint will settle into the low points and undo any shadow effect you've been going for.

Different paints have different optimal consistencies at different humidity levels, but when you get it right you will see it on the figure. The more you paint the easier it is to judge the consistency required and how best to get it.

By the way, don't mess about with Tamiya or Mr.Hobby paints. Go to the art shop in Burakuricho and get Turner Acryl Goauche paints immediately.

4) Find out-of-the-pottle/tube combinations of colours that give you a base, a shade and a highlight. You'll only have one that is really effective, but it's red, and that's just about all you need for ancients in 15mm. With your blues, purples, whites and so on you can get away with a base and a highlight, especially if there is a dip or wash in there as well.

5) Figure out brushes and brush angles that suit your painting style. It will take you a while to find brushes that you're comfortable with. Use two sizes for most work and a couple of others for specific purposes. Keep using the same brand and you'll find the best angles to hold them at, how much water they need, how often they have to be cleaned, etc. Knowing your brushes well will actually make your painting more efficient. Hey, don't roll your eyes at me, young man - I'm trying to help you!

6) Trial dips and washes. You'll find the dip method is very useful. Start using it right away.  It doesn't work for every figure or colour scheme, but a block-paint, dip, and highlight can turn out better results than other more complicated and time-consuming techniques (Cough. Thebans. Cough).

7) Sort out a painting guide for the army you are doing. If you know what you are going to paint, have an idea of the colours you will use and the order in which you will paint them. You can then slip into autopilot, rely on muscle memory, and concentrate on listening to Rory Gallagher (just you wait. Go get his first album from Tower Records and you won't look back. He's better than JP!).

Seriously, you don't want to be thinking about painting when you paint: it will burn you out. Give yourself a couple of things to play around with, but paint the bulk of it to a plan.

So, there you go, young Prufrock. Start working on those things now and you'll get a lot more figures painted more quickly - and to a more averagely adequate standard - than old Prufrock has. You can thank me later.

Tuesday, March 22, 2016

Soc. of Ancients Battle Day preparation

This year the Society of Ancients' Battle Day subject is Pharsalus. As I have the figures for it, we're going to do our own battle day at my place on the same weekend that the Society is holding theirs.

We have six participants confirmed so far. I'd like to get one more so that I can act as umpire rather than player. As is usual with our games, there is a mix of people: a die-hard miniatures gamer from way back, a board wargamer who will play miniatures occasionally, two chaps who enjoy a game now and then, a new bloke into computer games, and myself.

The day is actually approaching quite swiftly, so I need to get things into gear.

The first step is to paint up a few bases of Donnington German cavalry and supporting infantry to augment the all-important available cavalry ring-ins pool. I could do with some generic eastern (i.e., from Asia Minor) horse, but I really don't know what such cavalry should look like at this time. I have stacks of Achaemenid Persians to paint and plenty of Greek cavalry from the 3rd and 4th centuries BC, but none of them have shields. In fact, now that I think about it, somewhere I have a pack of wild Scythians from old Glory that might be useful. Hmmm. Anyway, moving along...

The second step is to find the right rules. I have a few options here, but may even go back to using my own 'January Project' rules if I am able to umpire.

The third step is to assign the players to the most appropriate command roles. If I do it right, I think we could just about have people who don't know the battle playing the Pompeians and those who do the Caesarians. I'll prepare a little brief for each player outlining their character, their troops, and their role in the battle. If there is time and opportunity I might also include some personal goals which can be used to determine the most successful commander on the day so that even a player on the losing team could win man of the match.

Lots to think about, and a bit of painting still to do!

Monday, March 14, 2016

First Spartans

Have finally completed a few more of the many hundreds of 15mm Greek figures I have about the place. Here we have the first 48 Spartans. This is a gray undercoat, block paint, acrylic dip, highlight job. Pretty quick and easy. I do have decals for the shields, but after considering the amount of hassle it would take to apply them I thought doing the lambda freehand was a better idea.

Figures are Xyston. Very nice to paint, though a bit of a pain to prep.


For my own records, here is the painting process.

Spartan unamoured hoplites:

Undercoat gray.
Do hair and beards with dark brown.
Tamiya smoke on helmets, spear tips and any greaves.
Use Tamiya black line on shields to bring out edging.
Block in tunics with crimson or carmine.
Block in flesh.
Shield backs and footwear brown.
Spear shafts in a different shade of brown.
Base green.
Clean up any spills on flesh or tunic areas.
Do belts and scabbards.
Antique bronze on helmets, shields, greaves.
Antique silver on spear tips, swords.
Brush on brown acrylic 'dip'. Clean up excess with kitchen paper.
Highlight tunics with bright red, highlight flesh on faces, elbows, knees.
Three step lamba on shelds: Deep red, red, bright red.
Highlight bronze areas with gold.

Armoured hoplites:

Use the same process except that the linen armour is highlighted white, washed with a black dip, and then highlighted again. I wasn't happy with how the linen came out; I really need to find a better white.


Monday, March 7, 2016

Sentinum - the battle


Carrying on from my previous post on the background to Sentinum, we move now to a refight of the battle itself. If you want a refresher on the course of the historical battle, Livy's short and very readable account is online here.

Turn 1. deployment.

The armies are deployed as in the picture below. I don't mark the zones on my table, but I've added some in for this picture so that readers can see the Lost Battles zone divisions.

Gallic/Samnite coalition on the left; Romans on the right.

Each side has cavalry superiority on its right wing. The coalition army has more foot units (14 vs 12), but the Gallic and Samnite foot is not as steady as the Roman legionaries and, once spent (ie, once a unit has taken a hit), fatigue will set in, meaning that the spent units will suffer a -1 to-hit penalty.

Turn 2. 

Gallic/Samnite Coalition: The command roll is just one, so Gellius uses his exemption to move the cavalry to the extreme left. The centre and centre right advance. The forward Gallic cavalry unit  attacks, scoring one hit, and the remaining command points are used to bring the rest of the Gallic mounted up in support.  The Gauls leave two units of infantry in their right rear zone to cover for other eventualities.

(1 attack, 1 hit. Romans have one unit spent out of the seventeen they have on table.)


Gallic cavalry attack.

Gauls advance; Samnites stay in place.


Romans: The command roll is two. The first priority is to advance the infantry and contest the centre. The light infantry attack, but to no effect. On the left Decius Mus's wing scores one hit on the Gallic cavalry. A second attack misses. Decius attempts to invoke the favour of the gods to secure a better outcome, but the gods are busy (laughing at Vulcan?).

(4 attacks, 1 hit. Coalition has one unit spent out of nineteen. Romans have one unit spent out of seventeen.)

Roman infantry advances into the centre.

Decius's equites attack in return.


Turn 3.

Coalition: The command roll is six. The attack is pressed on the right against Decius's wing. Two combat bonuses result in two hits and two failed rally attempts from Decius. One of the cavalry unit takes a second hit and shatters. Decius's other unit flees in panic, carrying Decius with it. The flank is now open.

In the right centre one hit is scored in an all-out attack. In the centre, one hit drives off the Roman light infantry. Gellius withholds his command, only ordering the horse to form up and face the Romans and Campanians in the distance. If the Romans wish to win on this flank they will need to make the first move.

(10 attacks, 3 hits, and 1 all-out attack. Coalition has two spent units/19. Romans have two spent units, one routed, one shattered/17, and one lost general.)


Gallic chariots attack.

Decius routs: the flank is open.

The Roman left and the Gallic horde.

Romans: The command roll is three. Fabius sees that he must move precipitately and advances in full force against the Samnites. The infantry attacks in the centre and centre left yield two hits.

(8 attacks, 2 hits. Coalition has four spent units/19. Romans have two spent units, one routed, one shattered/17 and one lost general.) 


Fabius advances on the right.

The Roman line curves forward.

Turn 4. 

Coalition: The command roll is four. The Gallic cavalry and chariots use three command points to begin getting around behind the Roman line. There are not enough command points to advance as far as desired.

The attacks on the right centre score two hits; those in the centre and left centre none. The Samnite cavalry however score a double hit against their more numerous opponents which is a blow to Roman hopes for victory.

(14 attacks, 4 hits. Coalition has four spent units/19. Romans have six spent units, one routed, one shattered/17 and one lost general.) 


Gallic cavalry and chariots get into position behind the Roman line. It's slower work than it looks.


The battle in full swing.

Romans: The command roll is one. The cavalry attacks on the right score two hits, but elsewhere there is little impact. The Romans could have all-out attacked Gellius's zone, but thought better of it. The Coalition still has the favour of the gods marker, which is making it difficult for the Romans to counter their run of ill-luck.

(15 attacks, 3 hits. Coalition has seven spent units/19. Romans have six spent units, one routed, one shattered/17 and one lost general.)


Cavalry battle between the Campanians and the Samnites.

Fabius presses the attack.

The Roman left all spent bar the triarii.


Turn 5. 

Coalition: The command roll is three. This is not quite enough to do everything that is required. The Gallic cavalry and chariots continue to envelop the Roman line and will not be able to attack until next turn. The Samnite cavalry can attack, but only one hit is scored, which is not enough to shatter a Roman unit. A shatter result here is so important that the favour of the gods is used to try again. This attack also fails, and the Romans have finally got their break.

In the infantry combats the news is again not good enough for the coalition: two hits, but as their spent units are suffering from fatigue and now hitting at a -1 it is becoming ever harder to hurt the Romans.

(15 attacks, 3 hits. Coalition has seven spent units/19. Romans have nine spent units, one routed, one shattered/17 and one lost general.) 


The Gallic cavalry and chariots now in position behind the Roman line.
Also note the number of spent units on the Gallic right.

A key attack does not go to plan: the Campanians hold off the Samnite cavalry.

Turn 5. Romans: The command roll is two. Attacks by the infantry net four hits. The cavalry launches a last charge against the Samnite left, and shatters two units. The coalition morale holds, but the flank is gone and Gellius's zone is open to attack on two fronts.

(13 attacks, 6 hits. Coalition has nine spent units and two shattered/19. Romans have nine spent units, one routed, one shattered/17 and one lost general.) 


Attack...


...and breakthrough. Gellius's flank is exposed.


Turn 6. 

Coalition: The command roll is one. There are not enough command points to both attack everywhere and shore up the line. The cavalry, charging the rear of the Roman centre, inflicts two hits, shattering the light infantry unit, but there are no other successes. Both sides are now down to an intrinsic command of five.

(8 attacks, 2 hits, 1 shatter. Coalition has nine spent units and two shattered/19. Romans have nine spent units, one routed, two shattered/17 and one lost general.) 


The Roman line attacked front and rear.

The other end of the line.

Romans: The command roll is four. With nine commands plus Fabius's exemptions available the Romans are able to give out three combat bonuses. The cavalry on the right turns to attack, but makes no immediate impression. There is success in the centre: the Samnites there take heavy casualties and any further hits on that zone will see units shatter.

(14 attacks, 2 hits. Coalition has eleven spent units and two shattered/19. Romans have nine spent units, one routed, two shattered/17 and one lost general.)


Roman and Campanian horse charge Gellius's flank.

The Samnite units in the centre are now all spent and fatigued.


Turn 7.

Coalition: The command roll is six. The extra commands are used to give the cavalry and chariots combat bonuses to attack the rear of the Roman lines. The attacks succeed: three hits are scored (one an all-out attack), one unit is shattered, and another is carried off in rout.

(14 attacks, 3 hits, 1 all-out attack, 1 shatter, 1 rout. Coalition has twelve spent units and two shattered/19. Romans have ten spent units, two routed, three shattered/17 and one lost general.)
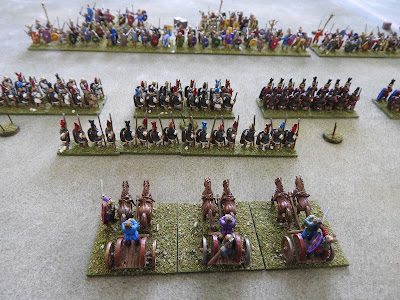

Before...

...after.


Romans: The command roll is six. Attacks by the cavalry on Gellius's flank are thwarted by the favour of the gods. Attacks on Gellius's front are thwarted by the Samnite commander's personal bravery.

(12 attacks, 3 hits, one rallied, one saved by favour of the gods. Coalition has thirteen spent units and two shattered/19. Romans have ten spent units, two routed, three shattered/17 and one lost general.)


The battle line.

Turn 8.

Coalition: The command roll is five. Attacks all along the line fail to significantly effect the Romans. Fatigue continues to take its toll.

(14 attacks, 1 hit. Coalition has thirteen spent units and two shattered/19. Romans have eleven spent units, two routed, three shattered/17 and one lost general.)


Both sides under great pressure.


Romans: The command roll is one. The cavalry initiates a dramatic attack on Gellius. The lead unit misses and uses favour of the gods to try again. Misses. The second unit scores a double hit. Gellius uses favour of the gods to force a re-roll. The re-roll misses. The third attack is a hit. Gellius attempts to rally the hit but fails. His entire zone is now spent.

Fabius takes up the charge in turn. A miss; favour of the gods allows him to try again. A hit; Gellius cannot rally it; a unit is shattered.

Elsewhere, all but one attack fails.

Crucially, the Romans hold the favour of the gods token going into turn 9.

(12 attacks, 3 hits, one shattered. Coalition has fourteen spent units and three shattered/19. Romans have eleven spent units, two routed, three shattered/17 and one lost general.)


Four...


...then three.


Turn 9.

Coalition: The command roll is one. Attacks on the rear of the Roman formation force the Romans to use favour of the Gods immediately. Despite this, one hit is scored in the centre and a unit is shattered. Gellius also inflicts a hit. Both infantry lines are fully stretched, bar one last fresh unit of Gallic infantry on the right.

(10 attacks, 2 hits, one shattered. Coalition has fourteen spent units and three shattered/19. Romans have eleven spent units, two routed, four shattered/17 and one lost general.)


A gap is opened in the Roman line.

Romans: The command roll is five. This is the turn for things to happen, and happen they do. In the centre the Romans score two hits. One is saved by favour of the gods; the other is not. The shattered unit carries off the rest of the coalition centre and the now-jittery Gallic cavalry in the rear of the Roman line. The attacks on Gellius's wing are similarly successful: two hits, shattering two units, leaving only Gellius and his guard unit in the zone.

This should have broken the back of the coalition army, but it somehow stands its ground on the wings (for now).

(10 attacks, 3 hits, three shattered, four routed. Coalition has seven spent units, four routed and six shattered/19. Romans have eleven spent units, two routed, four shattered/17 and one lost general.)


The coalition centre gives way.

Gellius's command crumbling.

Turn 10. 

Coalition: The command roll is one. The chariots charge in one last time, hit, and are asked to roll again by the favour of the gods. They roll again, and hit again in an all-out attack. It is enough to shatter a legionary unit, which takes its two support units with it.

The Gauls have won on the right.

Gellius now beats a hasty retreat to camp to save what he can of his force.

(5 attacks, 1 hit, one shattered, two routed units. Coalition has seven spent units, four routed, one withdrawn and six shattered/19. Romans have eleven spent units, four routed, five shattered/17 and one lost general.)


Chariots attack the Roman rear, and the line breaks.

Gellius decides to make for camp, and who could blame him?


Roman: The command roll is five. The legionaries in the central zone turn for a final strike at the Gallic infantry, but cannot score a hit. There is no other way to force a result against the coalition.

(2 attacks, no hits. Coalition has seven spent units, four routed one withdrawn and six shattered/19. Romans have eight spent units, four routed, five shattered/17 and one lost general.)


Last act: the Roman centre attempts to hit the Gallic flank.
And so the great battle is over. The armes have fought each other to a standstill, and neither side is left in sole possession of the battlefield.

Points.

Rome: 
Shattered enemy - AHI/HC x 6 = 36 
Routed enemy - AHI/HC x 4 = 16
Withdrawn enemy - AHI x 1 UL x 1 = 6
spent enemy - AHI/HC/Ch x 7 = 21
TOTAL - 79.

Coalition:
Shattered enemy - ALE/HC x 4 LLI x 1 = 28
Routed enemy - ALE/HC x 3 LLI x 1 = 15
Lost generals - UL = 3
Spent enemy - AHC/LE x 7, VHC x 1 = 25
Handicap - 27
Fatigued -  10
TOTAL - 108

A points difference of 29 results in a major victory for the coalition army.

This was a superb game and this slightly rushed write up does not do the swings of fortune justice. The favour of the gods token so often mentioned (which allows a re-roll and is then passed to the other side) added a wonderful extra level of tension to the game.

It was most enjoyable to play. For my poor, long-suffering readers, if you've managed to read this far, thank you, and I salute your stamina!


Related Posts Plugin for WordPress, Blogger...