Prufrock's Wargaming Blog

Prufrock's Wargaming Blog

Wednesday, May 28, 2025

First painted figures of the year

It's been a while coming but a recent surge in motivation aided and abetted by the new magnifying lamp has seen a few new troops ready to hit the table.

8 velites from Miniature Wars, and from the Xyston Greek pile 16 skirmishers, 12 light cavalry, 27 heavy cavalry and a general. There are also some Xyston Spartan cavalry with hamippoi in frame, but I am not counting those. They were painted last year - it's just taken me six months to flock the bases!


Next on the list is more hoplites. After that it will likely be either Persians or the remainder of my Successor pike. 

But I do have large piles of Crusaders and Saracens and Hundred Years War English and French which could make a change of direction. We shall see!


Thursday, May 22, 2025

Mediterranean Campaign turn 3, 220 BC (Med Campaign 8)

The years pass by and still there is no peace around our sea. O tempora, o mores!

The Romans, inspired by the success of their recent attack on Cisalpine Gaul, are becoming ever more ambitious. A fleet has descended upon the coast of Nearer Spain, landing near Emporiae.  

Elsewhere there is mostly just fractious politicking and rebuilding of strength, but in one other place there is war: the Illyrians are taking advantage of Macedon's eastward focus and have commenced raiding in force. 


There are two battles to come this turn. 

Campaign history

A Galatian Hush (Med Campaign 7)

There is unsettling talk from the east of a battle. Of a victory; of a defeat. So far all is rumour and conjecture!

The Mediterranean world in 221 BC.


Rome has a presence is Cisalpine Gaul. Phoenicia is relatively secure under Ptolemy. Mystery surrounds the state of Anatolian / Thracian border. All will be revealed in due course!  

Saturday, May 17, 2025

Let there be light

... there was light.

I finally gave in to the urge to be able to see while I paint. A trip to Bunnings has sorted me out with a Brilliant Magoo Magnifier Clamp and Desk Lamp.


So far it seems to do a pretty decent job, and compared to some of the other prices out there, $99 was not too bad. 

Good points: 

  • Magnification and focal point. Magnification is strong and there is plenty of room to swing a paintbrush.
  • Field of vision. You can see what you are doing in other parts of the room as well.
  • Light. The painting area is significantly brighter than it was before.

Bad points:

  • You need to take frequent rests to avoid headaches.
  • You will probably get so used to this that you can't paint without it. 


Whether it leads to increased painting output remains to be seen, but one lives in hope!

Wednesday, May 14, 2025

The Battle of the Sacred Grove (Med Campaign 6)

 Reports are in of a fierce fight between the Romans and the Gauls:

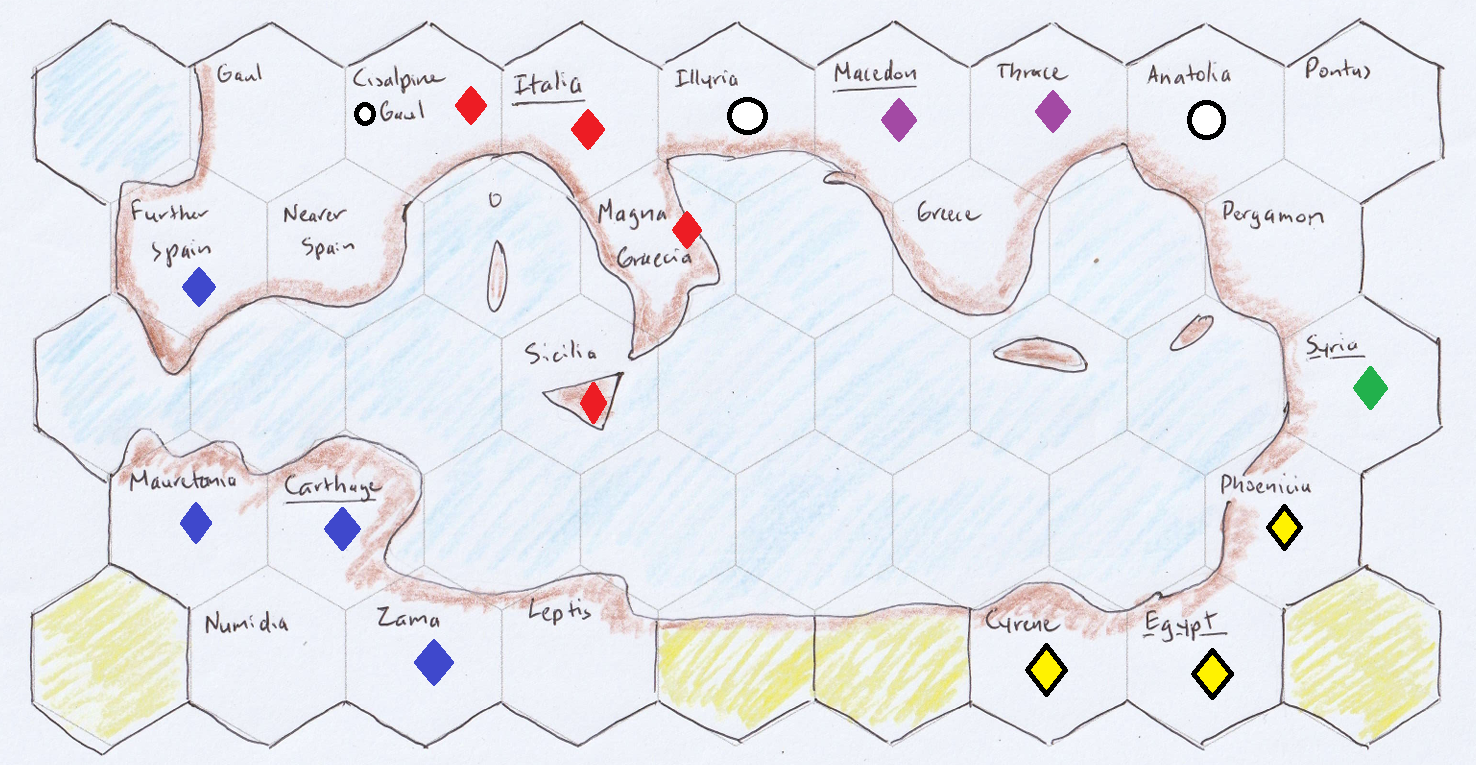
223 BC. Rome invades Cisalpine Gaul.


Fearing a further incursion by recently repulsed Gallic tribes to the north, the Senate of Rome voted to dispatch an army under the command of Consul C. Atilius Regulus. The Consul was ordered to seek out the troublesome barbarians, punish them for their temerity and remove this threat to Roman territory.

Regulus, in sole charge of Roman, allied Italian and Cenomani Gallic forces, advanced into the lands of the Boii and Senones. Hearing reports of a nearby hilltop site sacred to both tribes, he immediately gathered those Romans and allies he could at once assemble and led them onwards with all speed, aiming to destroy the site and thereby dishearten the enemy. The first wave of this force Regulus himself led, while ordering the remainder to follow on at their earliest opportunity.


The holy site, and the ridge upon which it stood, were guarded by a swathe of Gauls, these hailing from both tribes.


Upon sighting the lead elements of Roman forces, being the swift-moving Equites and Velites, this mass of warriors descended from the heights to fall upon Regulus’s army. Fighting was long and hard, with neither side giving ground, and with Consul Regulus at all times in the thick of the action.


One body of the enemy, these being skirmishers of young and headstrong nature, occupied a grove of trees in the centre of the field, resisting all attempts to eject them from it. 


As the second body of Rome’s forces arrived the Italian allied contingent, being of javelinmen and slingers, engaged these youths and drove them back from the tree-line. Pursuing into this sacred grove, the Italians fought hand to hand, with the woodland contested until the battle’s end.


At the same instant that Regulus’s reinforcements entered the fray a large body of the Boii tribe arrived to the north, moving southwestward towards the ridge, aiming to bolster their colleagues around the temple. This exerted enormous pressure on Atilius Regulus and those Romans south of the ridge, with first the brave but long suffering Velites and then subsequently the noble Equites being driven from the field. Their sacrifice had not been in vain, however, as the Gauls were sorely weakened by their struggles with those most valiant of Romans.


The hard marching second wave being now at hand, Regulus despatched the Triarii and Italian close-order troops, supported by the Cenomani, on a swift encirclement to the right of the enemy positions. 


Although the Senones and their Gaesati allies, under their warlord Aneröestes, had now joined the Boii in the defence of the holy site, they could make no dent in the line formed by the Triarii and Italians, although the cavalry of the allied Cenomani quit the field, defeated by Gaesati charioteers. 


While fighting raged to either side, one brave body of Principes now stormed up the eastern end of the ridge, forcing the defenders of the temple to flee before them, and resisting all the enemies’ attempts to drive them out.

As the day wore on, with their casualties rapidly mounting, the sacred site now in enemy hands and with no sign of the Romans wavering, the Gauls lost heart and began to slip away. Before long their entire force was in full retreat. However, despite his victory, Regulus was unable to press the pursuit, having lost his mounted arm in this day’s battle.


With evening approaching, the victorious army toppled and despoiled the circle of standing stones abandoned by the Gauls, C. Atilius Regulus therein pouring a libation to the gods, in thanks for a victory won.


*******************************************************************************************
The battle was fought solo, using a variant of Bob Cordery’s ‘Portable Wargame Rules: Ancients’ from his Developing the Portable Wargame book, and with solo mechanisms deciding the course of action for each arriving body, determined at the moment it entered the field. The scenario for this battle was based upon Scenario 8 in Neil Thomas’s One-Hour Wargames book.

Many thanks to Martin S for his refight, images, and the great report. The campaign continues!

Sunday, May 4, 2025

Battle of Raphia, 224 BC (Med Campaign 5)

 Ptolemy and Seleucus are at it again - Seleucus is trying to throw Ptolemy out of Phoenicia. 


This battle report from John Graham-Leigh:

Excellent battle today against Russ King.  We diced for sides and I took the Ptolemaics; I invaded so had the advantage of setting up second.  

Seleucus occupied a large gentle hill in the centre with thureophoroi and Galatian warbands, with Thracian peltasts and psiloi in the open facing my left.  The pike phalanxes opposed each other in the centre, and on the right the Seleucid cavalry (DBM knights), light horse and elephants opposed my weaker cavalry (DBM Cavalry) and light horse.  There was a large area of rough going opposite my far right which I seized with Cretan archers and camel-riders (Inferior Light Horse).  I expected to defend on the right and attack on the left with my lancers, elephants and numerous thureophoroi.

Mixed fortunes on the left as the Thracians slew many of my infantry but the lancers and elephants destroyed Galatians and thureophoroi.  Ptolemy was himself at risk when Galatians luckily beat an elephant, but survived and led a victorious charge.  The right-flank Seleucid command broke.  On my right the Cretans delayed the Seleucid attack, but it eventually went in with heavy casualties on both sides.  In the centre I had more pikemen (only one file of Seleucid Argyraspids) and got the luck of the combat dice.  The Seleucid phalanx crumbled and then broke.

A tight game - my flank commands were both one element from breaking - but eventually decisive.  10-0 in DBM scoring.


Ptolemy is now firmly ensconced in Phoenicia. Thanks to John and Russ for playing this out and sending through such a good report and photographs. Very nice to see some good old DBM lines in action!

Friday, May 2, 2025

Mediterranean Campaign turn 2, 224 BC (Med Campaign 4)

The last turn's campaigning saw Ptolemy successful in an attack on Phoenicia, and the Gauls defeated on their excursion into Italia.

Situation at 225 BC

In 224 BC Seleucus, having gathered reinforcements from the east, attacks Ptolemy in Phoenicia.

In 223 BC the Romans launch a punitive attack on the Cisalpine Gauls. 

In 222 BC The Galatians attack the Macedonians in Thrace. 

Actions in the 224-221 BC turn

John Graham-Leigh and friend will do the Seleucid/Ptolemy clash. The players running the other two battles are not yet confirmed.

Thursday, May 1, 2025

Battle of the Clanis River, 228 BC, (Med Campaign 3)

In the year of the consulships of Spurius Ruga and Quintus Verrucosus, The Boii and Senones, angered at continued Roman encroachment upon their lands, formed an alliance with Gaesatae from Transalpine Gaul to lay waste to Etruria. As reports of their depredations reached Rome, Spurius Ruga gathered an army which he led north to meet the Gauls in battle. 

Now the Gauls had accumulated much plunder and had grown careless from their daily excesses. They had made camp in the vicinity of Clusium, between the river Clanis and a formidible hill, but in a position which did not allow them to make easy use of their numbers for anything but debauchery. 

Spurius Ruga saw this opportunity to fall upon the Gauls and catch them unprepared. He ordered the army to breakfast and sent the missile troops across the river to harass the Gallic left flank while using the river for protection. Meanwhile the legions formed up on the plain between the Clanis and the hill and began to advance on the Gauls. Spurius Ruga commanded the right and Spurius Sinistus the left. 

At last aware of the Roman threat, the Gauls debouched from their camp and, each man swaying slightly, began to form for battle. The Boii under Youcansaythatagain were arrayed on the left; the Senones, led by Damnthelotofthem on the right. The Gaesatae, in their eagerness for war threw themselves forward.

The account of the esteemed Ian Piper is as follows:

The Gauls had found a nice campsite but not thought carefully enough. Canny old Spurius Ruga has realised that there is a bottle neck that he can use to his advantage. He has the Marines get some Archers over to the other side of the steep sided but narrow river from which they can fire quite safely into the Gauls who stray close enough (in Hail Caesar 2 shooting isn't usually very effective so this is more a hurry-up for the Gauls, although one Warband managed a command Blunder that moved them into the firing line. 

Assaulting at dawn the Gauls panic fearing being boxed in and their battle lines fill up as each group gets sorted out. Apart from some Fanatics (sorry, I know, but they helped the points balance! - perfectly acceptable!) each unit had to be rolled for in order to get to the front. All this means that there is not enough room for all the Warbands and when they do arrive there will be some confusion and difficult positioning. 

It is a Roman Victory but tighter than you might expect. Both right wings did well and Gauls looked like they might break out alongside the hill but the Heroes of the Hour undoubtedly the Auxillaries as they held up a Warband for a couple of rounds before being overwhelmed by numbers and a flank attack from the Gaulish Cavalry. The (now shaken) Warband then proved easy meat for the Legionaries.

Key:

C = Cavalry VL = Vet Legionaries L= Legionaries M = Marines A = Archers

S= Slingers Aux = Auxiliaries F = Fanatic Warband WB = Warband 1 and 2 = i/c and 2i/c

Forces at start, with Gauls just waking up.


End of turn 4


Final positions

Many thanks to Ian for fighting out what looks to have been a royal ding-dong of a battle. The brief was equal forces but for the Romans to have a terrain advantage. Between the battle, the evocative maps, the photo of the final scene (there is also an account of the forces for both sides but it is hard to format that for the blog), and the report he deserves a bit of plunder himself! 

An update on the overall campaign situation will follow, but for now the Gauls have been driven out of Italia and been unsuccessful in their attack.

Thanks again to Ian!

Related Posts Plugin for WordPress, Blogger...