As mentioned in my last blogpost, Luke and I recently got a game of Modern Spearhead in using Keith McNelly's excellent
scenario generation system.
Set in 1979, the situation saw a Soviet Motor Rifle regiment advancing into West Germany and encountering elements of the US 3rd Infantry Division.
We made it a 600 points game, so I took two BTR-60PB battalions, both with a company of T-62Ms attached, one with an anti-tank company for support and the other the regiment's recon battalion. My third unit was an independent tank battalion beefed up with a recon company. I only took one battalion of artillery - Akatsiyas - because I was wary of Luke's counter-battery fire, and also to have more troops on table to soak up the casualties I would inevitably suffer.
The table, with objectives marked, looked like this:
I was to be attacking from the top of the picture as we are looking at it, and having only three manoeuvre units, how best to deploy them proved a puzzle.
Objectives, in Keith's scenario generation system, give two points to the holder and breaking an enemy formation will provide an additional two. I only had a vague notion of this at game start (I was too busy pre-game getting my army list sorted to worry about peripheral matters such as how to win the battle!) but the general plan was to secure three objectives and try to bash the enemy as much as possible.
Knowing Luke, I reckoned he would want three manoeuvre units of his own, so I was banking on there being two units coming up table and a third marching in on a flank somewhere.
After a bit of thinking I decided to hit objectives C and D and look to drive on E if luck was with me. With my BTRs being wheeled, there was no point having them slog through the muddy fields in the centre, so this made my decision easier. The 1st battalion with the recon would go straight up the road and take the town on Luke's side of the board; 2nd battalion with the attached anti-tank assets would flank march and head for objective E; the independent tank battalion would be deployed on table in reserve, allowing me to order the armour through the centre or to my right later on, once I had a better idea of whether there was likely to be a flank march coming in against objective B.
This is what my order sheet looked like (seen from my side of the table):
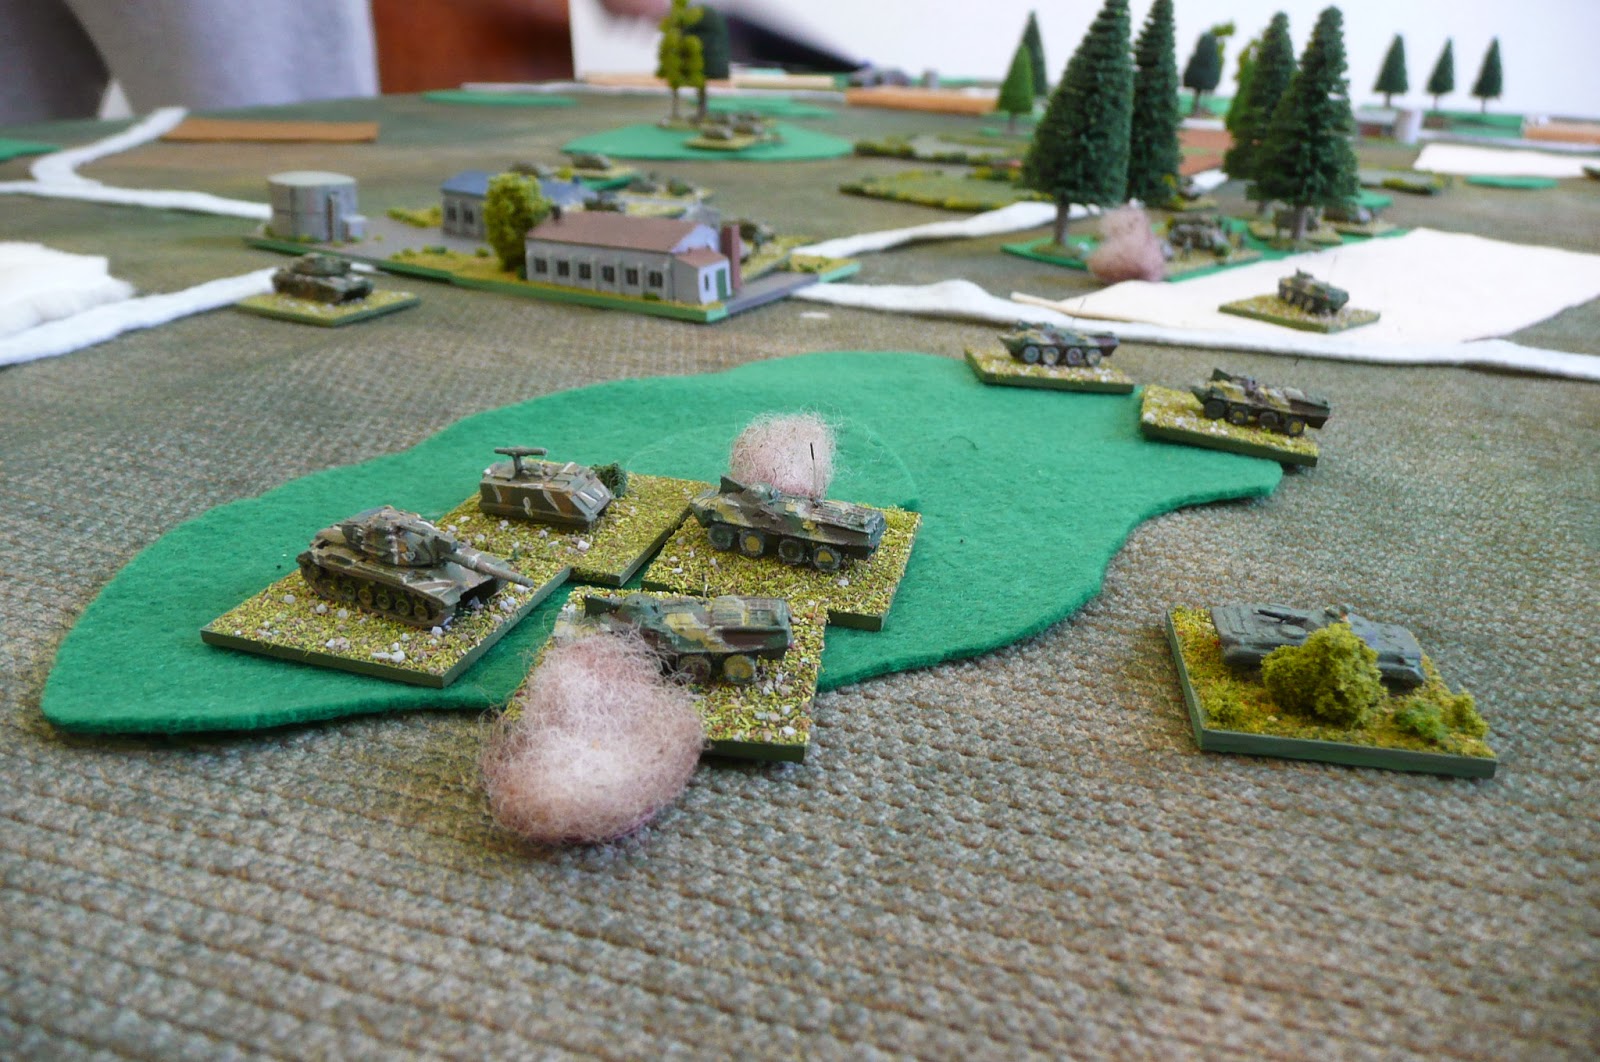
Things began reasonably predictably: Luke also appeared to be heading for the town on his right using an ACAV unit comprised of a couple of M60A1s, some M113s, some nasty M150s, and a bit of recon. His main force, a composite battalion of mechanised infantry and trusty M60A1s, was heading for objective E. It was quite big; probably 2 companies of infantry, a company of tanks and support in the form of tank-killing M150s and mortars.
 |
| Hmm, not sure if I want to tangle with these guys! |
Luke took the town on, I think, the first turn, and as he came into view 1st MR Battalion began deploying off the road, trying to use speed and cover to close with him as quickly as possible.
 |
| Luke's ACAV have taken the town and are heading for the objective on the high ground. |
Over the next two turns 1st MR began taking casualties from the M60A1s, ATGWs, and incoming artillery. But our Shilka calmly switched from AA duties to hitting the enemy ground troops while we winkled our BTRs closer.
 |
| The advance continues in the face of enemy fire. |
 |
| My T-62s await their orders... |
Meantime Luke's main force showed its hand. I had expected the composite battalion to halt on the hill and assume a defensive position, but it didn't.
He came down off the hill, rushing recon and combat teams in M113s towards the wood on the ACAV unit's left flank. I waited one more turn before committing the tanks - just to make sure - and gave them timed orders to advance through the centre to objective E, and then - perhaps a trifle ambitiously! - to turn towards objective B from turn nine onwards.
As turn four rolled around the god of flank marches proffered me a 5, which allowed my 2nd battalion to come on table in a position that was particularly sweet. Since Luke has done this to me in just about every game of Spearhead or Modern Spearhead we've ever played, it was nice to return the favour!
 |
| 2nd MR battalion arrives, behind the American ACAV. |
With tanks behind Luke's flank and able to hit the weak side armour of the M60 Pattons, I decided now was the time to push the BTRs of the 1st battalion into close combat to clear the hill and hopefully break the ACAV unit completely.
 |
| Turn 4 after movement, but prior to the artillery phase. |
 |
| The tank battalion commences its advance. |
But Luke had some tricks up his sleeve. First up, he called down smoke to prevent the advantageously positioned tanks from 2nd Battalion utilising their flank shots.
 |
| Luke's skill: exhibit A |
Second, he called down artillery onto the advancing elements of 1st Battalion, hitting them so severely that the battalion was suddenly only two kills away from its break point; exactly the number of elements that (if you'll recall) I had ordered into close combat on the hill, against an M150 and an M60!
To make matters worse, Luke's forces now suppressed both of those close-combat elements with gunfire prior to the fight, putting the odds heavily in his favour.
Clearly, those two kills were not now a million miles from possibility, and if I lost those combats it would in fact be my battalion that broke first.
 |
| Luke's skill: Exhibit B - suppressing the advancing BTR teams prior to close combat. |
So, with everything (for the moment, at least) riding upon the results of these close encounters, we took our dice, nodded coolly at each other, and flung. The first result saw the M150 kill off my initial attack, so now both his ACAV and my 1st Battalion were just one kill away from breaking.
For the second attack - with me at -2 - we rolled again; and this time I had all the luck in the world. My 4 played his 1 and we had broken the ACAV after all!
 |
| The crucial combats end one apiece. Great tabletop theatre! I think I like this game... |
Whew!
Next turn Luke committed the third battalion which he'd been keeping in reserve. This was not large, but packed some punch: a company of M60 Pattons, a company of M113s, M150s, and the obligatory mortars.
Fortunately for us, as they came on table we got off a lucky shot, destroying the lead tank.
 |
| Things look pretty good right now! |
Less fortunately, the good news was not entirely universal. 1st Battalion now took the hit which put it over the break point. This was inevitable, but it's still a blow to see your little lead men beaten up and forced to flee...
It was now two formations on two, but I had the advantage of terrain and numbers. It was going to take some careful manoeuvring to make sure I got the best out of the tank battalion, but I was so confident that I even joked to Luke that it'd take some work to explain if I managed to lose from there.
I really should have learnt to keep my mouth shut by now!
The next few turns saw us jockeying for position in the centre and a mini-battle on my left as the tanks accompanying 2nd Battalion tried to get shots on Luke's M60s while the ATGWs and a T-12 anti-tank gun moved into position to give us local superiority.
 |
| 2nd Battalion getting into position to take out the M60 Pattons. |
In the centre our recon managed to call down some ICM rounds onto the M150s in the composite battalion, which tilted things significantly in our favour. Luke now had, in effect, only three guns against a potential nine in that sector.
 |
| The situation in the centre just prior to us sorting out the M150s with artillery. |
But it was at this point, when things were looking at their grimmest for him, that Luke started to get into his work. You will probably already have an idea about what form that work took, but as I can summarise it very briefly, I will.
He did two things:
1) Call down smoke to limit the number of tank guns the Soviets could bring to bear.
2) Have confidence in the superiority of his tank crews.
And it worked.
Turn after turn we would fail to score the killer blow, and his M60s would knock out another one or two T-62s from those approaching, as you can see illustrated below:
By the end of it not only had it taken three turns to kill his three tanks, but he'd gutted my tank battalion and prevented the breakthrough to the hill that the advantages I possessed should really have made a mere formality.
It was a superb example of a player keeping his nerve, using every inch of ground, every round of smoke to limit the firepower that could be brought to bear, and carefully making sure of his own shots.
It was a hard lesson for me and one that I found a little difficult to take. After the third turn of not making any but the barest progress I was getting pretty grumpy!
My mood was not helped by the fact that it was a similar story on the left, as again I failed to make the most of my chances. There we faced smoke, shrewd gambles on our shots missing, and deadly shooting in return.
I also made a couple of silly errors here by fluffing around going into the town, but the less said about such rookie mistakes the better!
So by the time we finally destroyed the last M60 in the centre the situation on the left had reached an empasse: I was holed up in the town and pinned there by American combat teams on the outskirts, with neither side wanting to risk closing for close combat. I had more combat teams on the hill, but all of my tanks and the AT-gun had been destroyed.
At current ranges I had nothing left to hit his tanks with, and he couldn't see my infantry in cover. If he closed it would get bloody but neither of us was particularly keen on that!
So after turn nine, with family duties calling, we finished up.
As it turned out, I had won a nominal victory - 5-2 - but it really felt like a defeat. I had not made the most of my considerable mid-game advantage and it was clear that I still have a lot to learn about how best to employ combined arms tactics, particularly mortars and artillery.
I was reasonably happy with how I used the tanks in the centre, but Luke's counter-tactics there were too good. At this juncture I'd just like to say that throughout the game Luke gave me a lot of sound advice, some of which was quite detrimental to his cause. It's a great pleasure to have an opponent who genuinely wants you to get better, and not just to beat the pants off you because he knows the rules or period better, so hats off to Luke again on this score.
To conclude, it was a great game, and showed once more that Modern Spearhead is an excellent set of rules. There's still a lot I need to get better at, but hopefully that will come with time, and more speedily when there are players as sharp as Luke to learn from.
For anyone interested in reading things from the American perspective, Luke has a report up on his website as well,
here.
Luke also has a
blog now too, so do head on over and have a look when you get a moment.
Until next time!