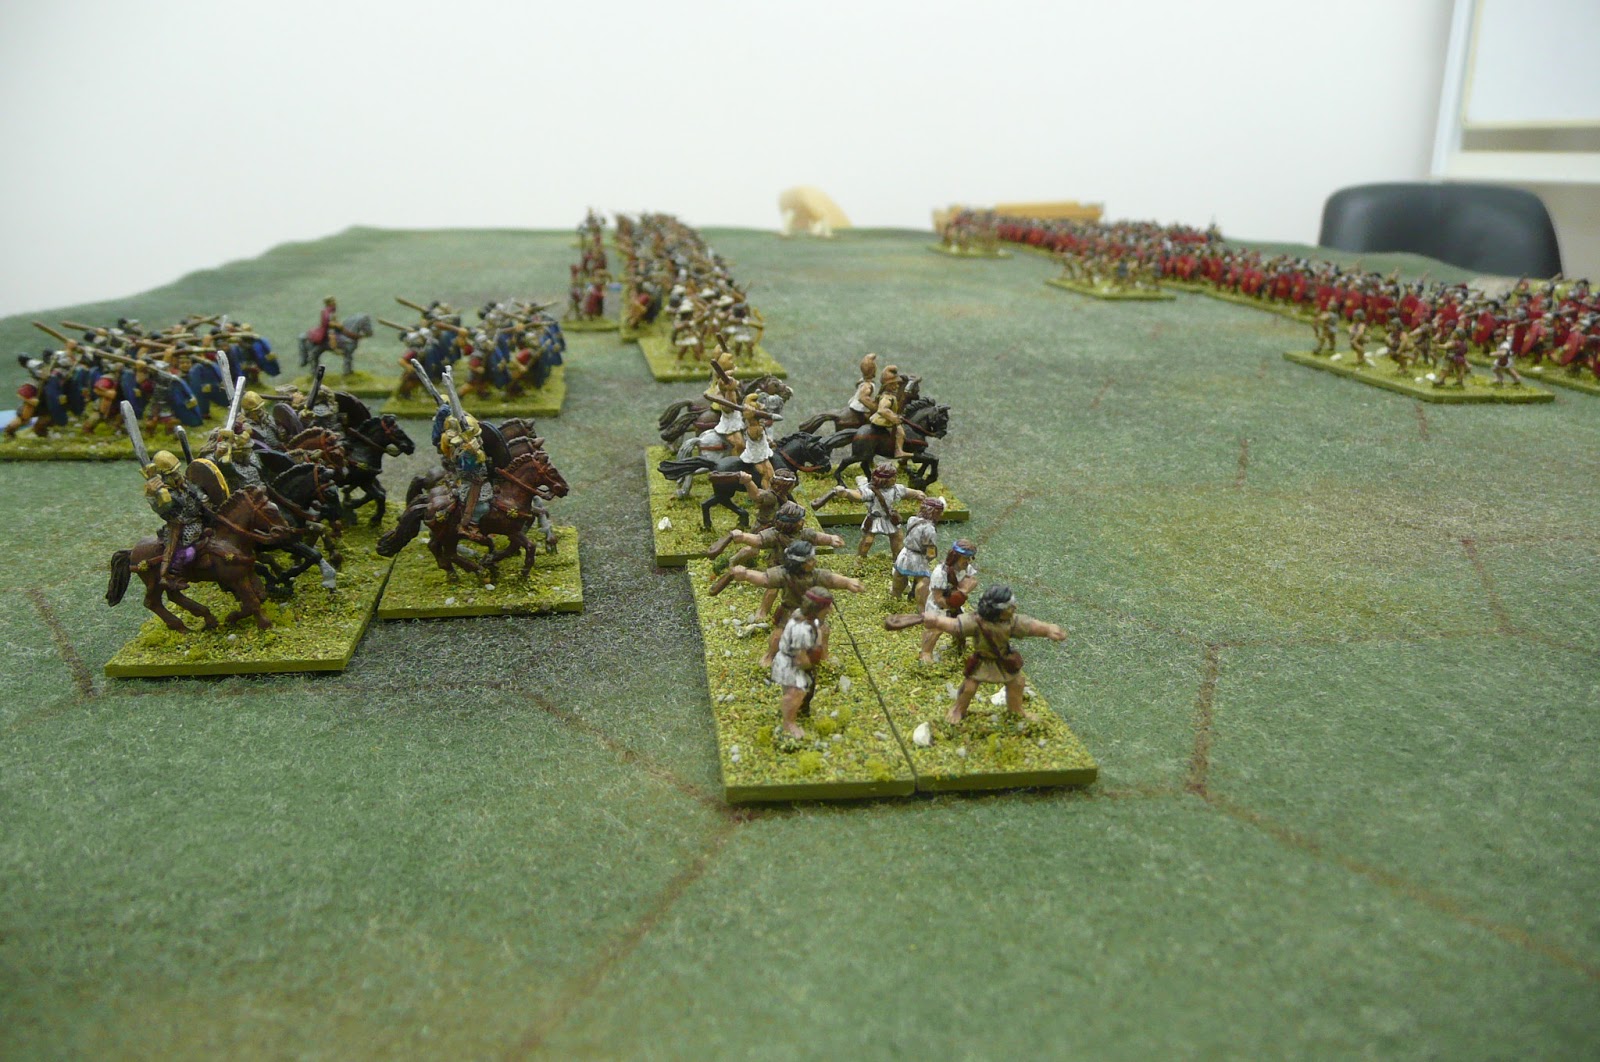
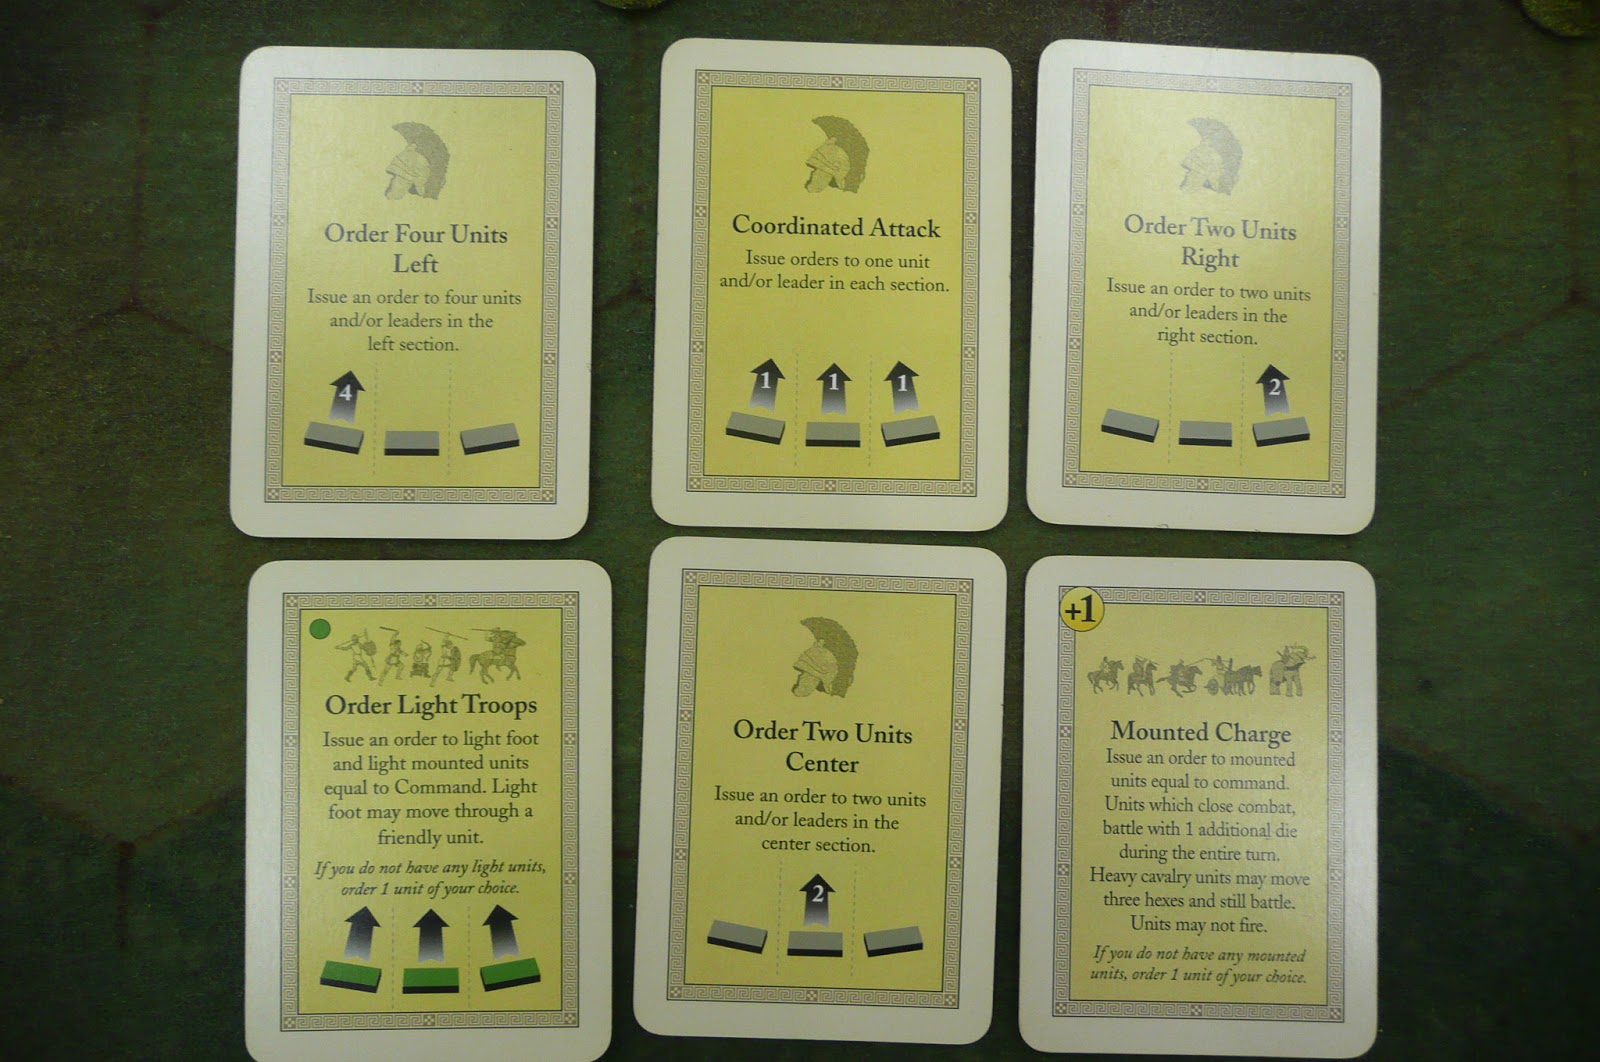
Just a quick plug for a new product. John Graham-Leigh, Society of Ancients stalwart and accomplished wargamer, has just had a booklet of his simple solo/multiplayer campaigns released by the SoA. I've seen the PDF draft and intend to pick up the booklet.
It looks like it will be a good addition to the library. More info on the SoA blog here (which I also wrote, just to be clear, transparent, above board and so on!).
Prufrock's Wargaming Blog
Tuesday, November 10, 2015
Friday, October 30, 2015
Invading Russia with NO RETREAT
I've had this game called 'No Retreat' from GMT sitting on the shelf for a while now. I've pulled it down and set it up a couple of times, but although the rules are supposed to be quite simple the game suffers from the 'nicely printed colour rulebook which came with the game contains so many mistakes that it's pretty much useless' syndrome.
This syndrome (common though it is!) still annoys me enough to take a while to get over it, but somewhere in the vicinity of three years later I've at last printed out the living rules and got cracking on it.
The campaign game starts off with Barbarossa and continues up until the fall of Berlin. There are shorter scenarios as well, but the idea is for people to be able to play through the Russian campaign in a sitting, using reasonably simple rules that encourage innovative game play.
The game is hex-and-counter, but has a small number of counters (by normal hex-and-counter standards), and is played on an attractive map with large hexes and good production values.
The rules are not too different from earlier classic board wargames except that this game uses cards to add in another layer of decision-making. The cards can be used as events (Soviets must make three attacks this turn; Germans can advance an extra hex after combat, etc...) or to do bonus actions (move by rail; force an enemy unit to attack; bring on a replacement unit, and so on). This means that there are a lot of options in play and many different tactics to try, depending on how you use your cards.
My game is of course solo - there are solitaire rules, but I'm not using them because I want to learn the two-player game - but I can see how this style of game would be a real winner if you were lucky enough to have a player of roughly equal skill and enthusiasm not too far down the road.
Despite it taking me a while to work into it, I think this will be a keeper. For the record, the Germans got off to a fast start and have taken Leningrad early. The Russians are up against it, but have a huge whack of reinforcements and replacements to bring on (when they have the cards) so it will be interesting to see whether they can take advantage of the stretched German line.
![]() |
| After German turn, Sep/Oct 1941 |
You know, with the GMT sale now on, I may even grab another game or two in this series. They have the North African Campaign and the Italian Campaign - both of which are of interest to a New Zealander!
Wednesday, October 21, 2015
SkyWave 1/700 European buildings
As the rugby is on hold until the weekend I've started painting my set of SkyWave 1/700 buildings. They are lovely little things, and I've been a bit worried that I'd stuff them up. I did glue one of the wall sections upside down, so hopefully that will be the only thing I do wrong!
So far all I've done is undercoat them, give them a watery coat of something brown or off-white for the exterior walls, and followed that with a sort of generic red for the roof tiles.
Next step will be windows, doors and probably a wash.
I think they'll look great on 1/300 battlefields. I'm not quite sure how to base them though. Another first world problem...
So far all I've done is undercoat them, give them a watery coat of something brown or off-white for the exterior walls, and followed that with a sort of generic red for the roof tiles.
Next step will be windows, doors and probably a wash.
I think they'll look great on 1/300 battlefields. I'm not quite sure how to base them though. Another first world problem...
Saturday, October 17, 2015
The best rugby team in the world and the French
Well, it's quarterfinals time in the Rugby World Cup and, as a New Zealander, I'm nervous as all billy-o. The New Zealand team, the All Blacks, are comfortably the best rugby team in the world. They sit on top of the rankings, they have the best win/loss record in the game, and like the Australians in cricket, are the team that every other team measures themselves against.
The All Blacks are famously tough, they never give up, and they marry strong forward play with exciting backs and a desire to play an attacking style. Only a handful of other rugby-playing nations has ever beaten them. Three of the other quarter finalists (Ireland, Scotland, Argentina) have never beaten an All Black side, and the Welsh have not won against the All Blacks since 1953.
And then there are the French.
We play them in Cardiff. They are our most feared World Cup opponents, have won two brilliant victories to knock out All Black teams in 1999 and 2007, and almost rallied to beat us in the 2011 final.
The first rugby names I remember from my childhood are French. Lescarboura , Sella, Blanco, Condom. They were formidable then and their players are formidable now.
On paper we should waltz in, but rugby is not played on paper. The French bring a particular mix of apparent insouciance, actual brilliance and a lack of concern for personal safety that can unsettle the All Blacks. Every so often they seem to be able to find something that we can't account for.
It's a wonderful game, a wonderful match up, and the uncertainty is killing me! I can't wait for it to begin.
To give you some idea of what the French can do, here is the try from the ends of the earth.
But first there is Wales against South Africa...
Good luck to all the teams, and may the best win!
The All Blacks are famously tough, they never give up, and they marry strong forward play with exciting backs and a desire to play an attacking style. Only a handful of other rugby-playing nations has ever beaten them. Three of the other quarter finalists (Ireland, Scotland, Argentina) have never beaten an All Black side, and the Welsh have not won against the All Blacks since 1953.
And then there are the French.
We play them in Cardiff. They are our most feared World Cup opponents, have won two brilliant victories to knock out All Black teams in 1999 and 2007, and almost rallied to beat us in the 2011 final.
The first rugby names I remember from my childhood are French. Lescarboura , Sella, Blanco, Condom. They were formidable then and their players are formidable now.
On paper we should waltz in, but rugby is not played on paper. The French bring a particular mix of apparent insouciance, actual brilliance and a lack of concern for personal safety that can unsettle the All Blacks. Every so often they seem to be able to find something that we can't account for.
It's a wonderful game, a wonderful match up, and the uncertainty is killing me! I can't wait for it to begin.
To give you some idea of what the French can do, here is the try from the ends of the earth.
But first there is Wales against South Africa...
Good luck to all the teams, and may the best win!
Monday, September 28, 2015
Pharsalus part 2
Following on from where we left off in the first report (read it here), it is now the Pompeians who must consider how to win the final banner and claim game victory. Labienus elects to order three left and advance. He does not expect to win the battle this turn, but will push the Caesarians back towards their baseline, try to retain the initiative, and hope for a useful card to come up next turn.
The first step in pushing back the enemy is to attack the light cavalry supporting the heavy cavalry. These lights are allowed to evade the attentions of Labienus, but in doing so will be forced back onto the base line.
The second step is to drive off the slingers supporting the cavalry's right. Again, the slingers can evade, but they will also be forced back onto their own baseline. They could stand in place, but a retreat result would be devastating, allowing the Pompeian cavalry to follow up and and attack again. Taking the evade is the least risky of the two options at this point.
The third step is to attack Caesar's Gallic/Germanic cavalry. There is risk attached, but there is a small chance of winning the battle here, and not attacking at all will hand the initiative back to Caesar. The attack is made. Three dice are rolled, each with a 1/3 chance of hitting, and an outside chance of winning by rolling two retreats. And the roll return is...
...three hits out of three! The cavalry are cut down where they stand; the Optimates are victorious!
| Battlefield at game end. |
I hope readers have enjoyed following this report as much I did playing it! Thanks for reading.
Pharsalus solitaire with Commands & Colors: Ancients (part 1)
It's been a while since I've played Commands & Colors: Ancients so tonight I decided to get a game underway. Pharsalus seemed like a good scenario.
Without any ado, here is the set up. Pompey's army is on the left with the red shields; Caesar's on the right, with the blue.
Pompey's line. It is not as strong as it looks: about a third of the troops are inferior and get only 3 close combat dice.
Caesar's line. Most of these are veterans, with 5 close combat dice. They are a tough old lot.
Caesar's right. He is weak in cavalry but has powerful infantry poised to move up in support.
Pompey's cavalry. Led by Titus Labienus, it is a formidable force, but if forced to retreat it will likely be in trouble. The hills behind it are impassable so there is nowhere to go. Success is the only option!
Here is the battle map (taken from the excellent commandsandcolors.net site). Caesar has the advantage in infantry quality (A = 3 melee dice, M = 4, H = 5) and an extra general, but Pompey has a powerful cavalry arm (M = 3 melee dice). Caesar's advantage in command cards - 6 plays 4 - will give him a significant boost in options, however. Overall, advantage Caesar.
Pompey moves first. This is the hand he has to work with.
There is a strong opening combination: move 4 centre, move 3 centre and double time. This could allow him to get into position on the first turn, use double time to get into contact on the second, and then use the other centre card to follow up the attack.
Unfortunately, his leaders are a bit out of position at start, so the first turn was used to re-position troops to better use the centre attack options.
Pompey moves two strong units and a leader into a more central position (shown by the black arrow on the right of the shot) while also advancing a unit of heavy legionaries (5 melee dice) on the left to support the cavalry and taking an ineffective pot shot with his archers (red arrow).
It is now Caesar's turn. This is his hand.
He has plenty of options, but no compelling combination. He elects to use Coordinated Attack to try some missile volleys.
They all miss.
Pompey now rearranges his centre, moving heavy infantry and a leader into more influential positions.
Caesar shoots again; again to no avail.
Pompey now uses the double time card to advance a front of four foot units two hexes to the attack.
The two central units attack the middle of the Caesarian line, seriously weakening but not destroying the unit there. Lentulus on the right then attacks the unit opposite, destroying it outright. He then advances and also attacks the weakened centre unit and eliminates it, forcing the leader to retreat and leave the rest of the line unsupported.
The left unit with Pompey now attacks an unsupported unit, driving it off and, after advancing into the space it vacated, destroys it in a follow-up attack.
Three dead units and a routed leader in one go; it is a massive blow struck for the Pompeians. Caesar's centre has gone!
Caesar needs to think about how to restore the situation. These are his cards.
The best move looks to be an order heavy units play, which will allow Caesar himself, Antony, and four heavy foot units (5 melee die each) to attack in an effort to plug the gap.
This they do, with Antony nearest to us and Caesar attacking the Pompeians from the right. It is another bloodbath. Four units are destroyed and Pompey himself killed for the loss of four hits to the Caesarians.
The game is now 5-3 to Caesar, and the first to reach 7 banners will win the battle.
What is ex-Pompey (Labienus) to do?
Caesar's right is most vulnerable, so Labienus elects to play Out Flanked. On the left he moves two units into position to threaten an attack on Caesar's light troops next turn.
On the right he moves his strongest unit into a frontal position and fires a volley at the depleted unit of legionaries in advance of Antony.
His left now looks like this.
On the right his archers kill off the last base of the forward Caesarian unit.
We are now at 5 banners to 4.
Caesar can do little on his right. He has no leader there and his cards will not allow a coordinated attack. Accordingly, he elects to advance in the centre and attack the badly positioned archers with 6 dice.
He rolls two hits, two misses, and two retreats. The supporting units allow the lights to ignore one retreat, but they cannot ignore the second. A total of four hits are scored, and Caesar has his 6th banner. Just one more to play for!
Here is an overview of the battlefield at this stage. Caesar's army at bottom of the shot and Pompey's army at top. Labienus has three solid blocks of troops; Caesar's are scattered all across the field.
Labienus still needs three banners for the win.
He can either issue a Line Command in the centre....
...or order three left.
The order three left will get him only one banner, which is not enough, and will leave him open to counter attack by Caesar and his power units in the centre. He elects to take on Caesar himself through the Line Command.
The missile fire is ineffective, but the veteran heavy troops manage to score 4 hits out of 5, destroying the unit and forcing Caesar to scamper off to relative safety.
6-5.
The Pompeians have two more attacks. The first, with the leader, scores one hit.
Antony battles back, scoring three hits.
The second attack comes...
... and three hits are scored, destroying Antony's unit and taking the Pompeians to 6 banners.
The score is even at 6 all, but where is Caesar going to get a 7th from?
The answer, after much consideration, is nowhere safely. The best he can do is consolidate the right, retreat the light infantry out of immediate danger, and hope to coordinate an attack later.
Anything else would lead to a definite loss on the Pompeian turn.
And with that we will to draw a temporary halt to proceedings: the blog will not allow me to upload any more photographs!
Part two is now up here.
Without any ado, here is the set up. Pompey's army is on the left with the red shields; Caesar's on the right, with the blue.
Pompey's line. It is not as strong as it looks: about a third of the troops are inferior and get only 3 close combat dice.
Caesar's line. Most of these are veterans, with 5 close combat dice. They are a tough old lot.
Caesar's right. He is weak in cavalry but has powerful infantry poised to move up in support.
Pompey's cavalry. Led by Titus Labienus, it is a formidable force, but if forced to retreat it will likely be in trouble. The hills behind it are impassable so there is nowhere to go. Success is the only option!
| Wider view of the cavalry wings |
Here is the battle map (taken from the excellent commandsandcolors.net site). Caesar has the advantage in infantry quality (A = 3 melee dice, M = 4, H = 5) and an extra general, but Pompey has a powerful cavalry arm (M = 3 melee dice). Caesar's advantage in command cards - 6 plays 4 - will give him a significant boost in options, however. Overall, advantage Caesar.
| From the commands and colors site. |
There is a strong opening combination: move 4 centre, move 3 centre and double time. This could allow him to get into position on the first turn, use double time to get into contact on the second, and then use the other centre card to follow up the attack.
Unfortunately, his leaders are a bit out of position at start, so the first turn was used to re-position troops to better use the centre attack options.
Pompey moves two strong units and a leader into a more central position (shown by the black arrow on the right of the shot) while also advancing a unit of heavy legionaries (5 melee dice) on the left to support the cavalry and taking an ineffective pot shot with his archers (red arrow).
It is now Caesar's turn. This is his hand.
He has plenty of options, but no compelling combination. He elects to use Coordinated Attack to try some missile volleys.
They all miss.
Pompey now rearranges his centre, moving heavy infantry and a leader into more influential positions.
Caesar shoots again; again to no avail.
Pompey now uses the double time card to advance a front of four foot units two hexes to the attack.
The two central units attack the middle of the Caesarian line, seriously weakening but not destroying the unit there. Lentulus on the right then attacks the unit opposite, destroying it outright. He then advances and also attacks the weakened centre unit and eliminates it, forcing the leader to retreat and leave the rest of the line unsupported.
The left unit with Pompey now attacks an unsupported unit, driving it off and, after advancing into the space it vacated, destroys it in a follow-up attack.
Three dead units and a routed leader in one go; it is a massive blow struck for the Pompeians. Caesar's centre has gone!
Caesar needs to think about how to restore the situation. These are his cards.
The best move looks to be an order heavy units play, which will allow Caesar himself, Antony, and four heavy foot units (5 melee die each) to attack in an effort to plug the gap.
This they do, with Antony nearest to us and Caesar attacking the Pompeians from the right. It is another bloodbath. Four units are destroyed and Pompey himself killed for the loss of four hits to the Caesarians.
The game is now 5-3 to Caesar, and the first to reach 7 banners will win the battle.
What is ex-Pompey (Labienus) to do?
Caesar's right is most vulnerable, so Labienus elects to play Out Flanked. On the left he moves two units into position to threaten an attack on Caesar's light troops next turn.
On the right he moves his strongest unit into a frontal position and fires a volley at the depleted unit of legionaries in advance of Antony.
His left now looks like this.
On the right his archers kill off the last base of the forward Caesarian unit.
We are now at 5 banners to 4.
Caesar can do little on his right. He has no leader there and his cards will not allow a coordinated attack. Accordingly, he elects to advance in the centre and attack the badly positioned archers with 6 dice.
He rolls two hits, two misses, and two retreats. The supporting units allow the lights to ignore one retreat, but they cannot ignore the second. A total of four hits are scored, and Caesar has his 6th banner. Just one more to play for!
| Caesar readies to strike the hapless lights... |
Here is an overview of the battlefield at this stage. Caesar's army at bottom of the shot and Pompey's army at top. Labienus has three solid blocks of troops; Caesar's are scattered all across the field.
Labienus still needs three banners for the win.
He can either issue a Line Command in the centre....
...or order three left.
The order three left will get him only one banner, which is not enough, and will leave him open to counter attack by Caesar and his power units in the centre. He elects to take on Caesar himself through the Line Command.
The missile fire is ineffective, but the veteran heavy troops manage to score 4 hits out of 5, destroying the unit and forcing Caesar to scamper off to relative safety.
6-5.
The Pompeians have two more attacks. The first, with the leader, scores one hit.
Antony battles back, scoring three hits.
The second attack comes...
... and three hits are scored, destroying Antony's unit and taking the Pompeians to 6 banners.
The score is even at 6 all, but where is Caesar going to get a 7th from?
The answer, after much consideration, is nowhere safely. The best he can do is consolidate the right, retreat the light infantry out of immediate danger, and hope to coordinate an attack later.
Anything else would lead to a definite loss on the Pompeian turn.
And with that we will to draw a temporary halt to proceedings: the blog will not allow me to upload any more photographs!
Part two is now up here.
Friday, September 25, 2015
Subscribe to:
Posts (Atom)