I've decided to start a series of posts chronicling some of my painting techniques and methods. The reason for this is to help me remember how I've done things, as I often forget little details and find myself later thinking "how did I do that again?" Hopefully it will also show some improvement over time so that in a few years I can look back, smugly scoff at my old self and exclaim "oh, what a fool I was then, and how wise I am now!"
Anyway, jocularity aside, the techniques I will cover are not of my own invention. Most of them have been picked up in various places around the web, though I may have refined some to suit my own tastes and the products available here in Japan. The miniatures page is a prime source, and I've learnt so much from browsing the painting forums there that I can't recommend it and its helpful denizens highly enough. I would've been lost without it. Other useful sources have been blogs. People like BigRedBat will post pictures of their figures and from those shots one can see what is possible, what techniques are used to get those effects, and how far I personally have to go to even contemplate matching such skill and expertise. It's a constant learning process, and hopefully it will long continue.
Anyway, here is the standard 'brown wash' technique that I use.
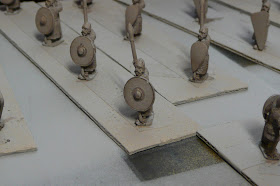
First up I spray prime the figures grey, using either the Tamiya or Mr. Hobby products. I have also primed white with the wash, but the figures I'm doing now use grey, as I've had the best results with this colour.
Next, I make up the wash itself. The proportions are roughly one part black to two or three parts brown; this then being thinned with an approximately 50/50 mixture of Klear and water and (this is essential) a touch of hand soap dripped in to help the flow. I use these paints (click for a larger view):
or these:
depending on how brown or red-brown I want the figures to look.
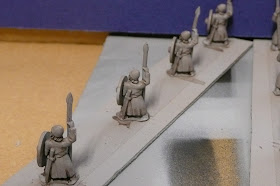
This wash is applied liberally over the whole figure so that all the crevices have colour in them. This results in something looking like this:
The wash can of course be made darker if desired. The purpose of the wash is to add depth to the figure, to give good clear outlines of belts, boots, beards and so on, to prevent any virgin undercoat showing through, to pick out folds in the garments, and to provide a good base that flesh tones, browns, reds, whites and blues can be painted on top of later in the process.
So, there we go: the brown washed figure, step one!


Thanks for the great info. What is the percentage of the wax/water 50-50 mix to the black/brown paint mix?
ReplyDeleteHi, I sort of keep adding water/Klear until it looks about right, actually! Sometimes I want it a bit darker than other times. If you find it's too light, you can always add a bit more paint in and do the wash again. Sorry for not being more precise!
ReplyDeleteCheers,
Aaron