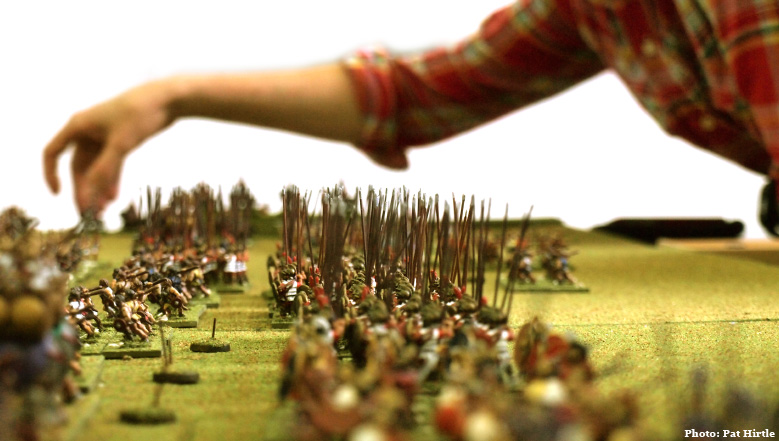

Partly for this reason and partly because I've been distracted by other things, I haven't played the rules as much as I'd intended to when I first bought them.
But they had something about them, and like the magic item beloved of fantasy novels, whose true purpose is fortuitously revealed at just the right moment, or the unopened letter from a deceased acquaintance that, finally read, gives vital plot direction to the heretofore wayward strivings of a hero or heroine, it seemed they might one day come in useful.
And so it has proved.
On browsing the shelf the eye alighted on AMW, and the timing seemed just about right.
The Saxons.

The Saxons, who would be defending a small hill, are made up of three different troop types. In the front we have the nobles. Classed as infantry with medium armour (5-6 saving throw), they get an integral missile bonus in the first round of any combat, and can form shieldwall. They are rated elite, so pass morale tests on a 3-6.
The middle row is made up of peasants (fyrd?), who are classed as infantry with light armour. They too can form shieldwall and get an integral missile bonus. Peasants (despite the name!) are average quality, and pass morale on a 4-6.
The back row is made up of archers. They are levy troops with light armour and bows and pass morale tests on a 5 or 6.
The Vikings.

The Vikings are a mirror image of the Saxons, except that they are warband infantry instead of shieldwall infantry.
In front are the huscarls, who have medium armour and are elite for morale purposes. Being warband, they get extra dice in the first round of combat.
The units in the middle row are bondi. They are also warband class, but have light armour, are average quality, and have the ability of fire off up to two arrow attacks on turns in which they are not engaged in melee. This is actually a pretty handy ability to have, especially against shieldwall infantry.
In the back is a unit of thralls; these being levy light infantry with javelins.
The Battlefield.
 |
| Stylised battlefield: Unit key: 1s = nobles/huscarls; 3s = peasants/bondi; 6s = light infantry. |
As mentioned, the Saxons set up on the hill to make good use of their shieldwall. The Vikings intersperse huscarls and bondi along their line to give themselves the best chance to turn the enemy's left flank while wearing down the centre and right with missile fire before engaging in melee.

Moving first, the Vikings move in as fast they can. On the far right they close the distance to the archers and aim to charge in against the light infantrymen to prevent their arrows from doing too much damage.
 |
| Archers picking off the bondi as they approach. |
This plan is not completely successful - the archers score three hits early, and at the time of the above photo, they still had another volley to come. The archers would not be laughing when the bondi got into contact with them on the following turn, however!
As the Vikings come into bow range, they halt to let the bondi - with 'integral archers' of their own, if you recall - attempt to get some early hits on the shieldwall.
But if the northmen think these worthy fellows are going to be disconcerted by a few arrows, they are wrong...


While the left and centre holds back to fire off their speculative arrows, the bondi and huscarls on the Viking right immediately charge home. The defending archer light infantry is no match for the bondi warband, and they are soon destroyed, allowing the bondi to turn and outflank the endmost unit of peasants who are already in melee with the huscarls.
Observing this, the Saxons come under pressure to take action of their own. After some consideration they send forward the right to engage the Viking light infantry and leftmost bondi unit.
The picture below, using our previous scheme, shows a representation of the situation around turn eight. Note that the archers have been defeated and the Saxon left is outflanked.

The Saxon right engages; unfortunately, failed morale tests for coming out of shieldwall are catastrophic. This allows the Viking light infantry to gain an unforeseen advantage over the peasants on the far right.
Now that both wings are under threat, the centre of the Saxon line comes forward to attack the bondi and prevent any more losses to missile fire. But they wait to engage the huscarls.
 |
| The centres engage. |
But this does not yet make up for the situation on the wings, for the Viking left has now swept the enemy away there as well.
 |
| The Vikings break through on the left. |
It is turning into an interesting inside-out battle: the Saxons are endeavouring to break the enemy centre while the Vikings are working their way inwards from the wings. The Vikings have got a significant advantage in unit numbers though, which in AMW can be hard to overcome.
This is what our scheme looks like after about fourteen turns. The three units of nobles in the centre are putting genuine pressure on the Viking line, but their wings have vanished, and they are running out of time to win.

As a quick rules aside, in AMW, if a 'heavy' unit (i.e., a non-light unit) exits the battlefield off the enemy's board edge, it eliminates the exiting unit but also forces the enemy to remove two units from the game. Once a side is reduced to two units, it has lost.
The obvious threat then to the Saxons is that the Vikings can send one of their units to exit the board and win the game, and the only way to stop them is to destroy four units themselves in the two or three turns it will take to get a Viking unit off the board.
The picture below shows how the Saxons have split the Viking centre and the fight has devolved into three fierce contests.

Returning to our scheme, it can be seen that the Saxons have expanded the opening they've made in the centre...

But in the end, they can only destroy two of the four units they need to claim victory.

It was interesting to see how close it was in the end, and it was a really enjoyable game.
I did make a couple of errors. As one example, the Saxons did not need to go into shieldwall formation until they were under attack by the enemy. To go into shieldwall is automatic, but to come out causes a morale test, and a failure there causes significant damage. A number of units were obliged to charge out of a shieldwall formation they should not have been in, and this was costly in terms of Saxon resilience.
The upshot of such mistakes is I have seen there are more tactics to use here than in, say, Thomas's other popular set, One Hour Wargames, and I am satisfied that there is something here worth pursuing, for Dark Age warfare, at least. The rules have an old school feel which is close enough to other dicefest games such as WHFB that some extra ideas to add interest could be incorporated without too much trouble.
Anyway, if anyone has made it this far through, thank you for reading, and I hope it was worthwhile!

Aaron, your posts are always worthwhile! AMW has been sitting on my shelf for a long time too without ever having been read. Maybe I should follow your lead, pull it from the shelf and give it some study?
ReplyDeleteBy the way, your use of colored dice as a study in motion aid was a nifty expedient.
DeleteThanks, Jonathan - clearly you did read that far. Much appreciated! It worked fine for Dark Ages. As I say, am not enamoured of how it treats elephants, but this was good fun. I'm sure you have plenty of other rules to work through first though!
DeleteAn enjoyable post with the game progress pictures using dice adding to the after action report.
ReplyDeleteThanks Peter, very kind of you.
DeleteInteresting report Aaron, I have the rules but haven't tried them out yet. Dux Bellorum seems to be the main rules we use for Dark Age games.
ReplyDeleteThanks, Mike! Yes, I really enjoy Dux Bellorum, too.
DeleteCheers,
Aaron
AMW. I love it. A much cleverer set of rules than it first appears.
ReplyDeleteYes, more going on than it seems at first glance!
DeleteHave heard of the rules. Have read some Battle Day reports wherein the rules have been used. Have not purchased or played them, however. Your comment about elephants in AMW is well taken. Interesting report . . . has me (as I said on SOA forum) thinking about trying a version - however modified - of Brunanburgh. Cheers - Chris
ReplyDeleteThanks, Chris! I sent you a message through the SoA forum.
DeleteCheers,
Aaron
Great report and I love the use of the dice to better show what was happening. Easier than breaking out the old drawing program!
ReplyDelete