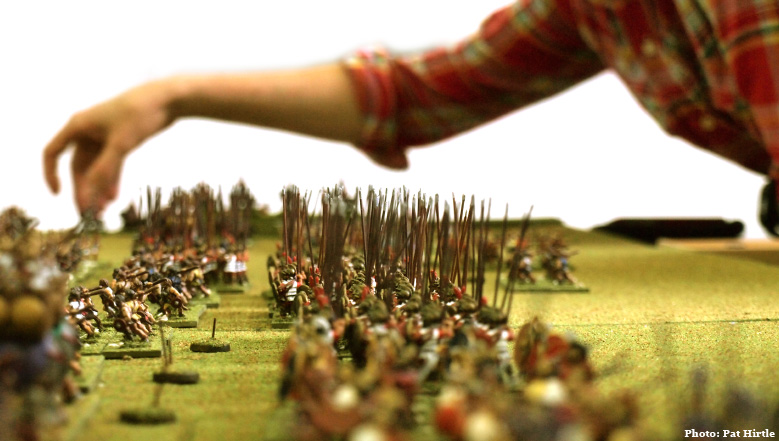
Anyway, Gorgo is taking Caesar's side, so it was me, as the Helvetii, who kicked things off.
We used the historical set ups as neither of us had played this scenario before and to reduce time online. Even when using VOIP software (google talk), it still takes us two to three hours to get through a game at the moment.
Caesar's account of the battle can be found in his Gallic Wars which is online here. His description begins in book 1, chapter 24 and following. The Lost Battles scenario gives the Romans a fighting value of 70 versus the Gauls' FV of 55. Caesar is only rated an average commander in this clash, but as the Gauls have no commander at all, commands will be at a premium for them.
Turn 1:
As we jump into Caesar's narrative, we find the Helvetii have been harassing the Roman column, so upon gaining the next hill Caesar sends his veteran legionaries to defend the approaches and orders the cavalry to hold the left and right flanks. His newer recruits are still busy preparing a fall-back position, represented here by the camp, so they are undeployed at this stage.

Board after the first turn.
Turn 2:
The Helvetii advance their left and centre zones to engage Caesar himself and to threaten the cavalry. Elsewhere the Gauls remain in place. Caesar pulls back his cavalry and attacks with his veterans in the centre, and these score one hit. He orders one veteran legionary to double move forward from the camp and prepares the rest of his undeployed troops for action.

First blood to the Romans.
Turn 3:
The Helvetii advance on their left and press the retreating Roman cavalry. They launch an attack in the centre but are unable to do much more than inconvenience the legionaries.
Caesar attacks with no noticeable success in the centre, but his cavalry give the too-eager Gauls on the right a bloody nose as they close on the hill. More men are shuffled across to reinforce his right flank, but he refuses to be drawn off the high ground on his left.
(Caesar's central zone, being outflanked on one side, is able to make five attacks rather than the usual four, which will likely prove a significant advantage over time unless the Gauls can dispose of the Roman right quickly.)

Pressure on Caesar's right.
Turn 4:
The Helvetii begin to make a little headway in the centre, and their assault on the left begins to gather steam as the cavalry are thrown back and the light infantry are disorganised by the assault. Encouraged by this result, the remainder of the heavy infantry on the right charge forward into contact with Caesar's left centre.
Caesar calmly reinforces his right with more legionaries from the camp, and they maintain their front with an effective discharge of pila from the heights. His men continue to attack with purpose in the centre, inflicting a double hit at the cost of a spent unit of their own.
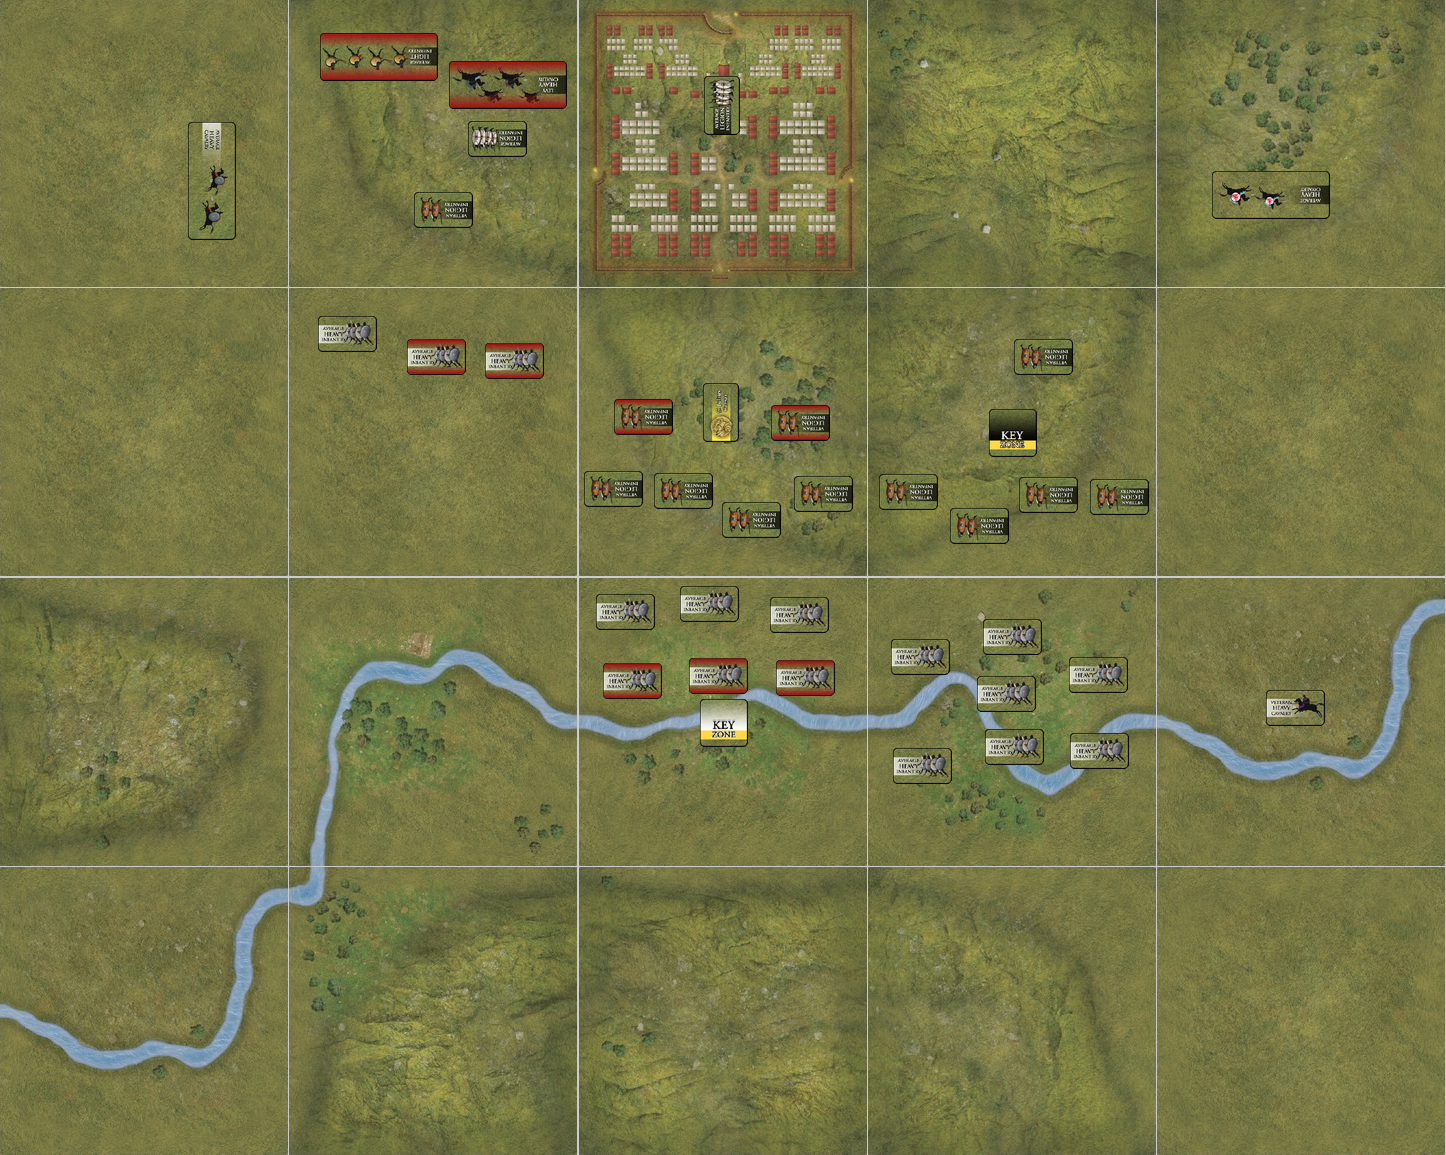
Mutual attrition takes its toll.
Turn 5:
The Gauls all-out attack against Caesar's zone and manage to score two hits on the Roman left centre, and another on the Roman right.
The Roman response however is brutal: Caesar's men attack with devastating effect all along the line, shattering two of the Gallic units in the centre and another on the right. Gallic morale holds firm for now but it is wavering.

The Gallic line is grievously afflicted...
Turn 6:
The Helvetti are now faced with a decision: do they call off the attack and make a stand on the hill behind them, or do they risk a final charge? A piecemeal withdrawal will expose their fellows in the line to overwhelming counter-attack, so without the commands available to pull back the entire left, everyone elects to attack once more.
As if to reassure the Gallic commander, the surge on the right is a great success, and the Romans almost buckle under the ferocity of the charge. Three hits are taken, but despite this the line holds. The assault on the left also scores a hit, but Caesar's zone escapes unscathed due to the exhaustion of the attackers.
Taken aback by the intensity of the offensive, the Romans can do nothing but hold as missiles fall wide and swords fail to find their mark.

The Gauls press the assault with renewed vigour.
Turn 7:
A lack of commands again prevents anything fancy from the Gauls, so they just line up and charge yet again. They appear to have given of their all though as only one hit is scored, by the cavalry on the left. The Romans are spent in two zones but - agonisingly - none of the attacks are able to cause a shatter.
Caesar's genius now reveals itself: his remaining fresh legionaries come down off their hill and sweep the Gallic centre away. Their irresistible charge shatters two units, and the rest run with them. The Gauls hold elsewhere, even when another unit is shattered on the left, but the end cannot now be far off.

Caesar leads his men down off the hill to put the Gallic centre to flight.
Turn 8:
Although their situation is precarious the Helvetii manage to rouse themselves for another effort. With the right centre they score a double hit, shattering two units of veteran legionaries; on the left the cavalry shatter a unit of average legionaries and panic the Caesar's cavalry and light infantry.
Caesar's men score one hit in return while they reposition themselves for the final assault.

The Gauls are not done yet. Three units are shattered, and a further two rout!
Turns 9 and 10:
The Gauls manage to inflict one more shatter on the Roman right before, but they are soon taken in the flank by Caesar himself, and a double hit shatters two units at the cost of an all-out attack. Under this final assault the remaining Gauls break and run, leaving Caesar in possession of the field.
The Romans have won a hard-fought clash on the final turn, but the VP count will be interesting.

Caesar's men launch the final attack.
Victory Points:
Rome: 9 x shattered, 8 x routed, 1 x withdrawn gives the Romans 90 VPs.
Helvetii: 2 x V shattered, 2 x A shattered, 1 x L and 1 x A routed, 8 x V spent is 67. The handicap is 35, so the Gauls score 102, which is 2 points shy of a clear victory under the handicap system.
Gorgo's final all out attack to score a double hit was the difference between a narrow and a clear victory, which just goes to show how small the margins are in Lost Battles.
So the campaign result is 4 points to the Helvetii and 3 points to Caesar which represents a good start for the Gauls.
Thoughts:
It was a fantastic game. There was a lot of tension throughout and the advantage swung from one side to the other. The 'Favour of the Gods' chit had a satisfyingly influential impact, and really does add to the experience. The Gauls generally suffered for want of commands, especially when it came time to think about withdrawal, but the tactic of attacking on the left - nicely countered by the Roman cavalry pulling back - saw the Roman centre getting five attacks in per turn instead of the usual four, and that was crucial in the long run. The attack on the left was a qualified success in the end, but the price was high, and the Gauls may have been better served by engaging both central hill zones from the outset and saving a flank attack until the reinforcing legions were committed in the centre. Plenty to think about, but the Gauls will be reasonably happy with their four points, though they will feel they could have made more of their mid-game position than they did.
Caesar's daemon played a fine game, maximising his attacking opportunities, remaining cool under pressure and all-out attacking with a precision that had me applauding. Judicious play pulled him back from suffering a potential blow out, and I'm very much looking forward to two more battles against such a canny opponent. The biggest difficulty will be finding the time to meet up and play!

Ouch, right down to the wire. The Vassal screen shots make a great visual aid; by turn 6 I thought, "Blast the Gauls may do it" (as a Romanist I support Caesar) and they did - just.
ReplyDeleteHi Andrew, it was a close run thing all right. I briefly thought the Gauls might hold out to the end and draw on the field, but those Romans you like so much managed to shatter nine units! Was a great game. Maybe you should give VASSAL a try some time? :)
ReplyDeleteCheers!